
Dollhouse Flooring Tutorial
Create a beautiful herringbone “hard wood” floor for your miniature scene using coffee stir sticks.
Supplies needed:
miter shears
painter’s tape
paste or glue (such as Yes! paste)
sharp blade (such as Xacto)
sealant or varnish (optional)
wood filler (optional)
gloves
coffee stir sticks
poster board (optional)
wood stain or paint
foam applicator or paint brush
rag (if using wood stain)
180 grit sanding block/sanding sticks
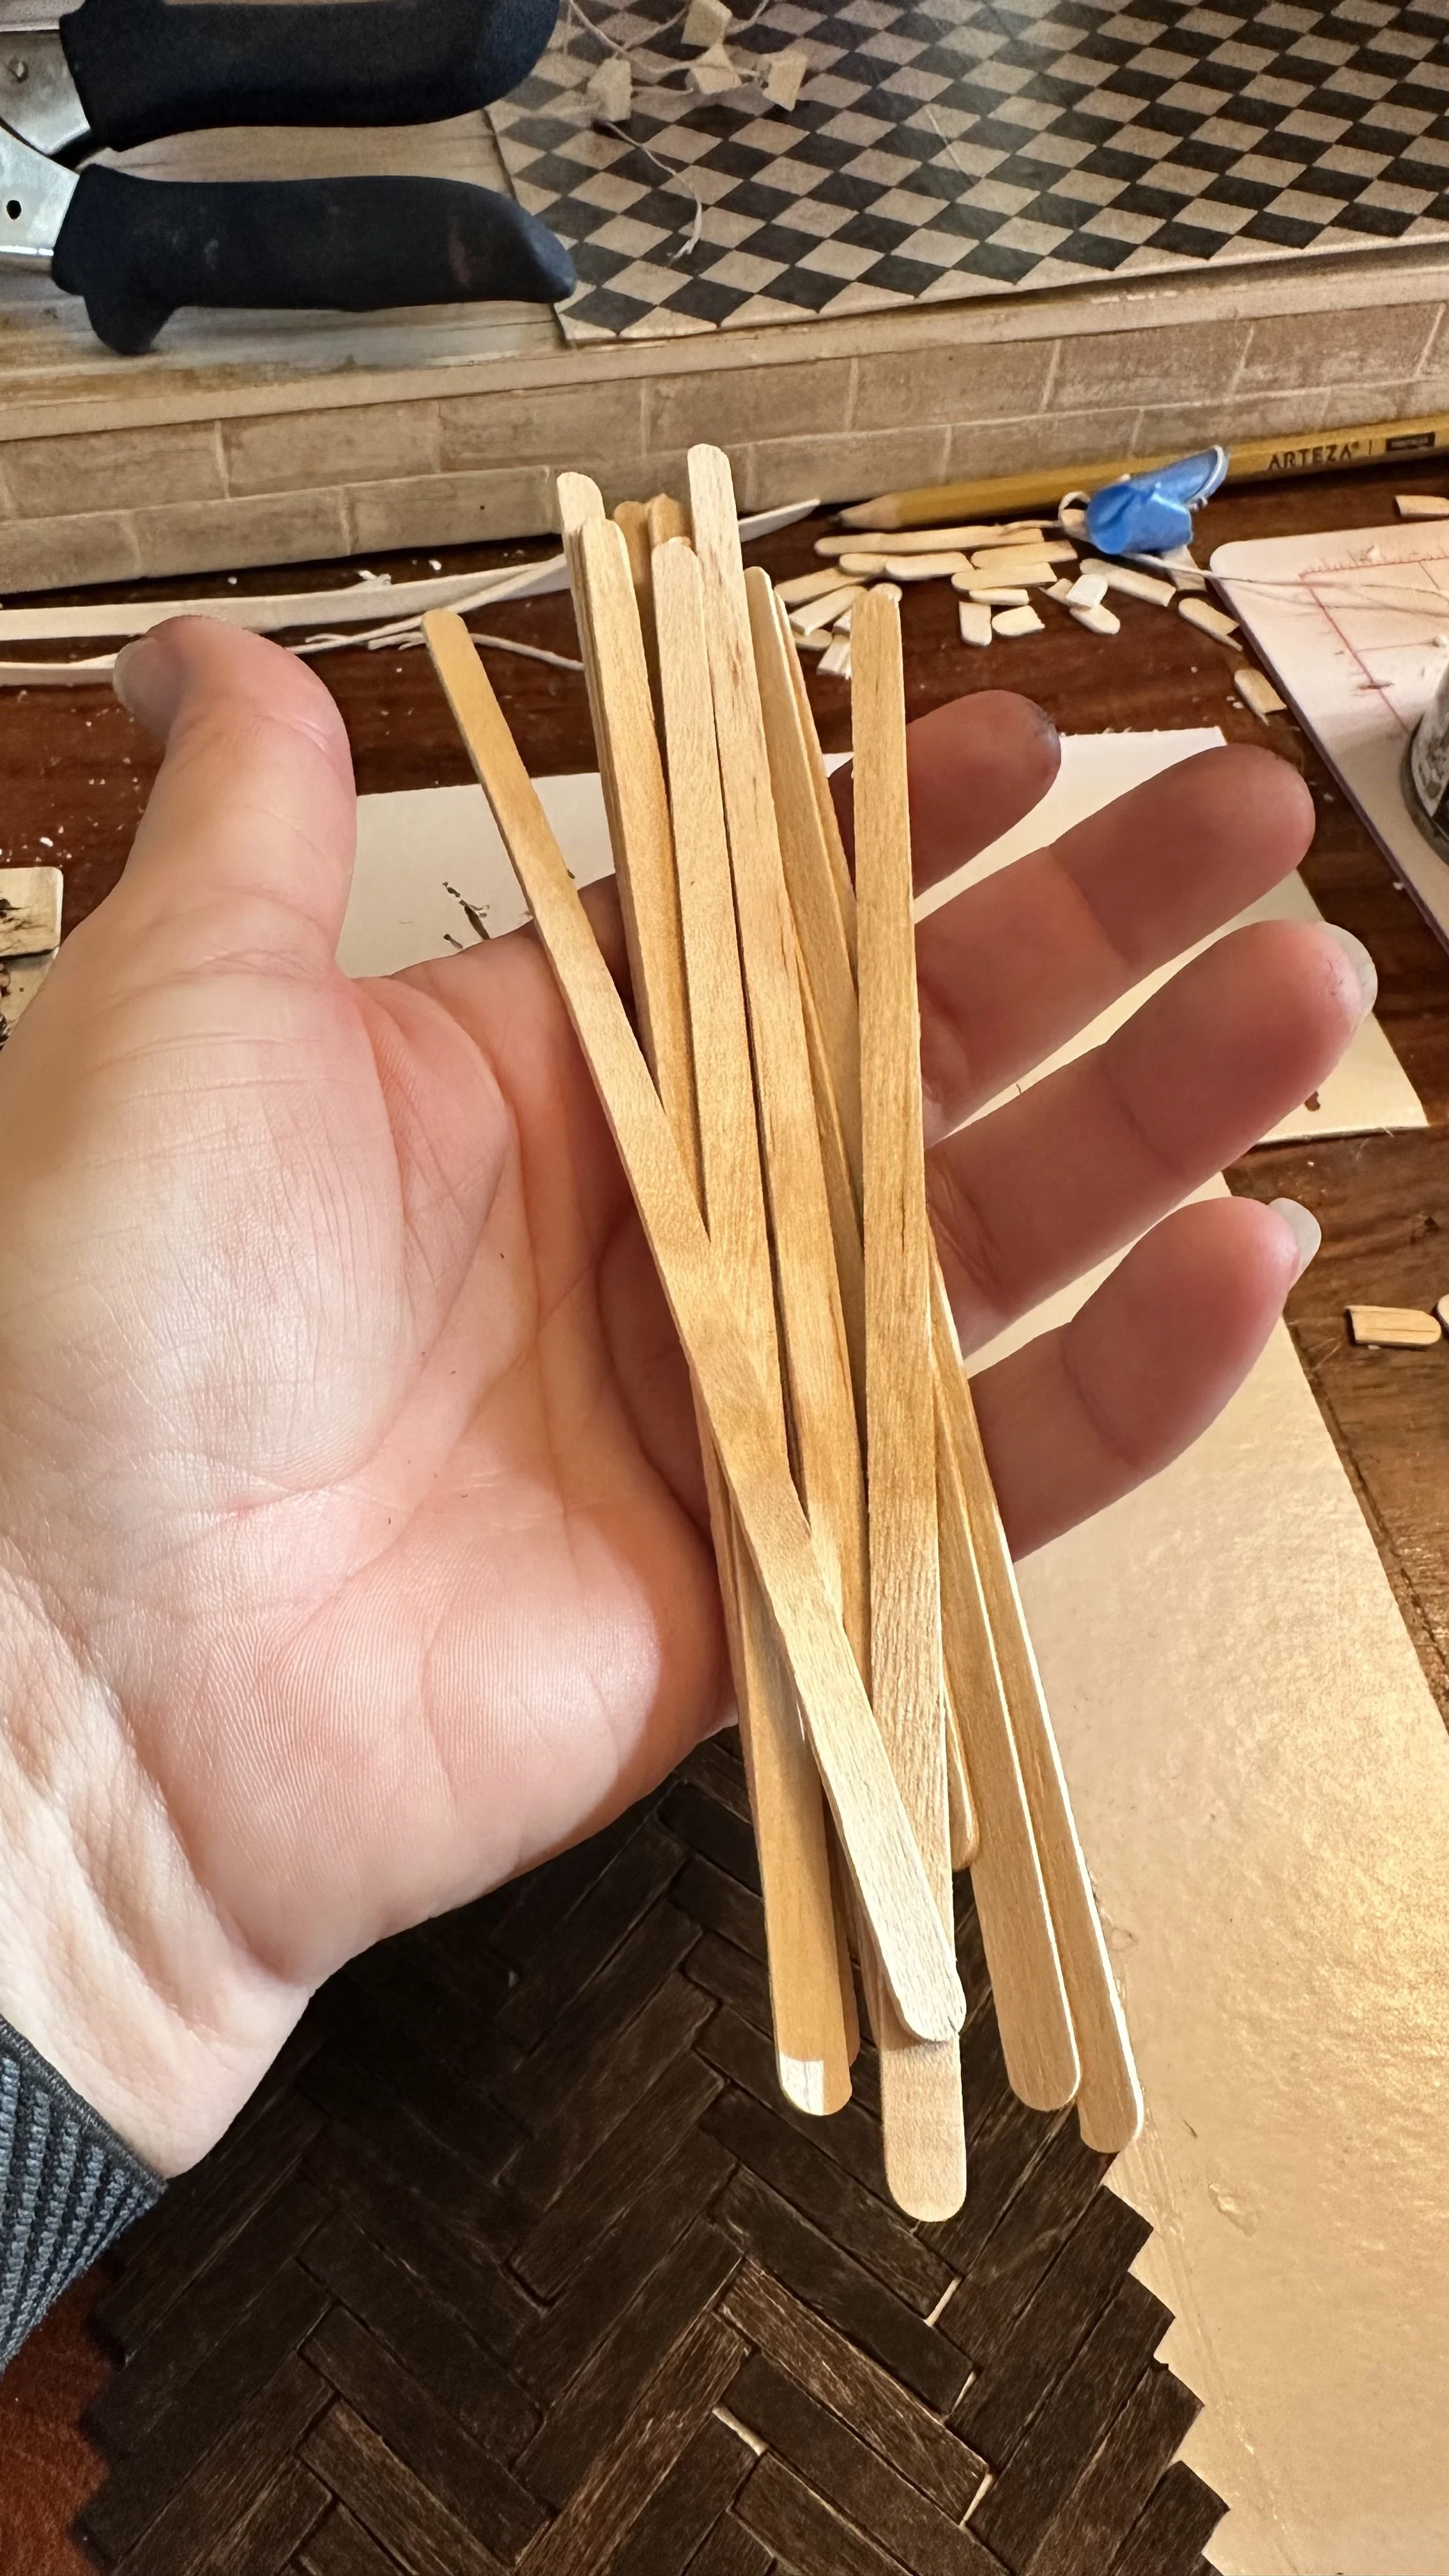
Begin with a supply of wooden coffee stir sticks. Pick through the sticks to find the smoothest, straightest ones.
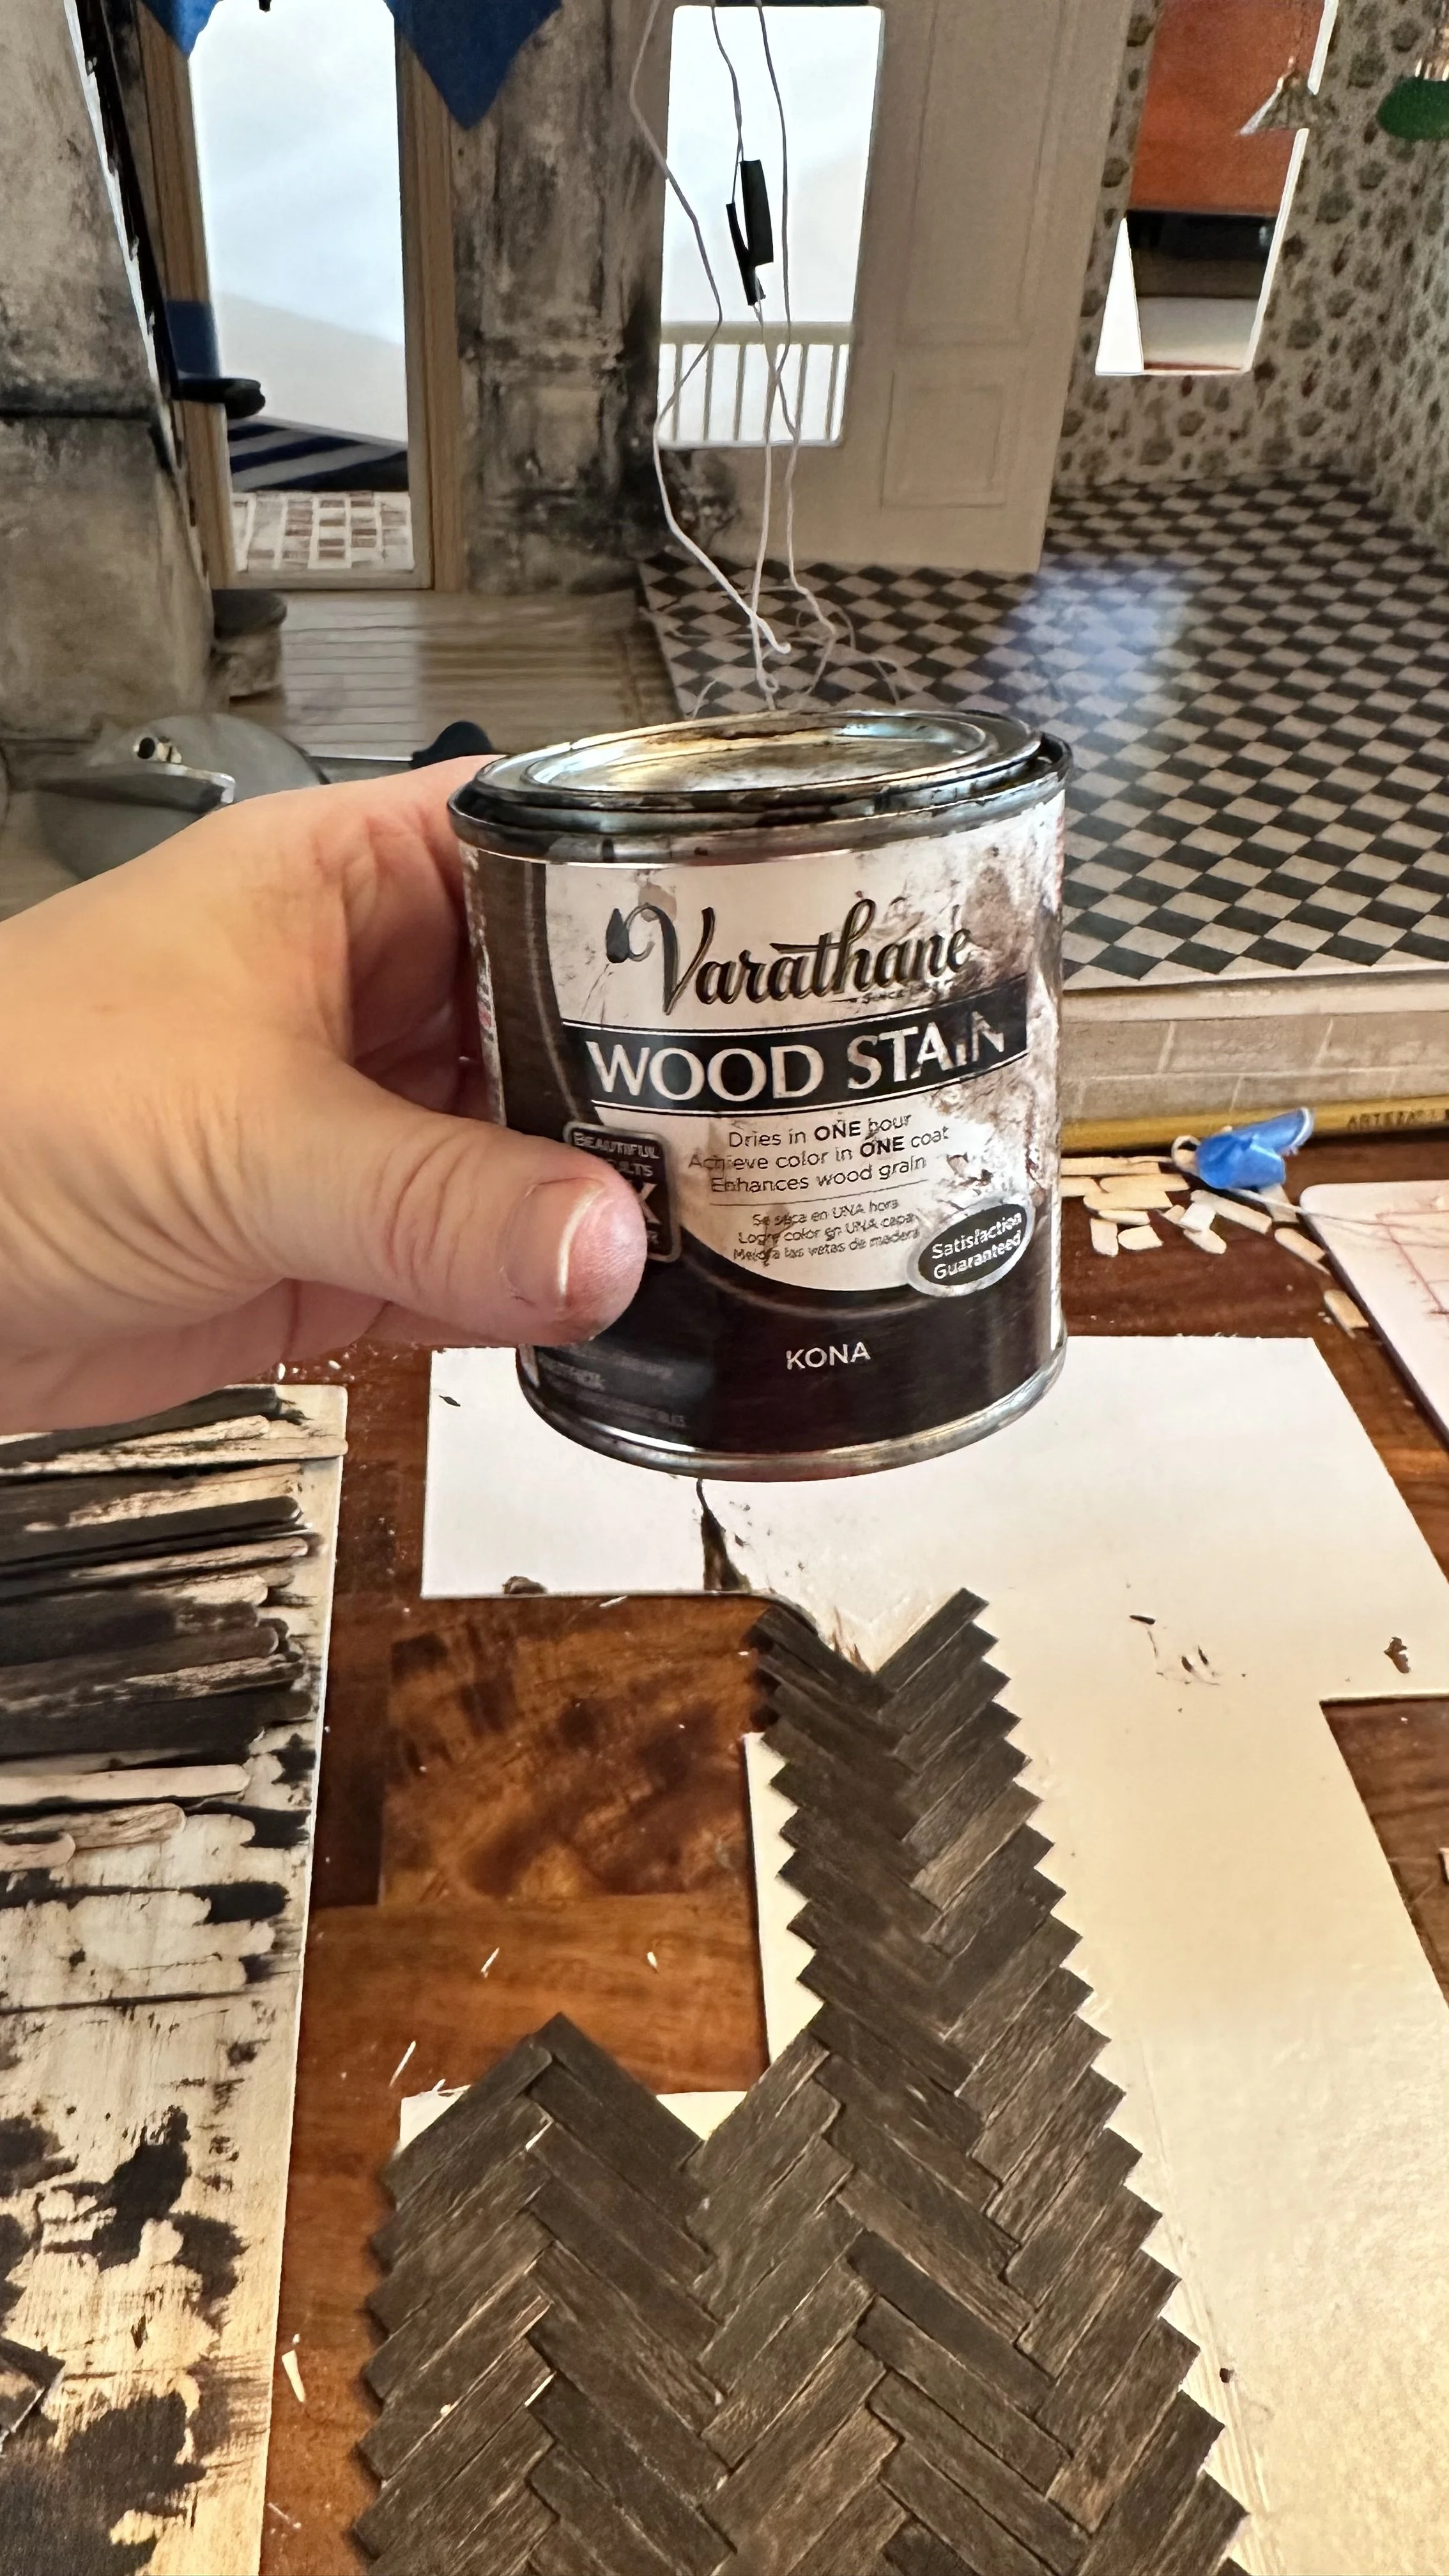
Stain: The wood will not absorb oil-based stain if there is any glue residue, so we stain prior to gluing. (Remember gloves and good ventilation!) If painting with thicker water-soluble paints like acrylics, this step can be done after gluing.
Wipe sticks down within 10-15 minutes of staining, and allow to dry.
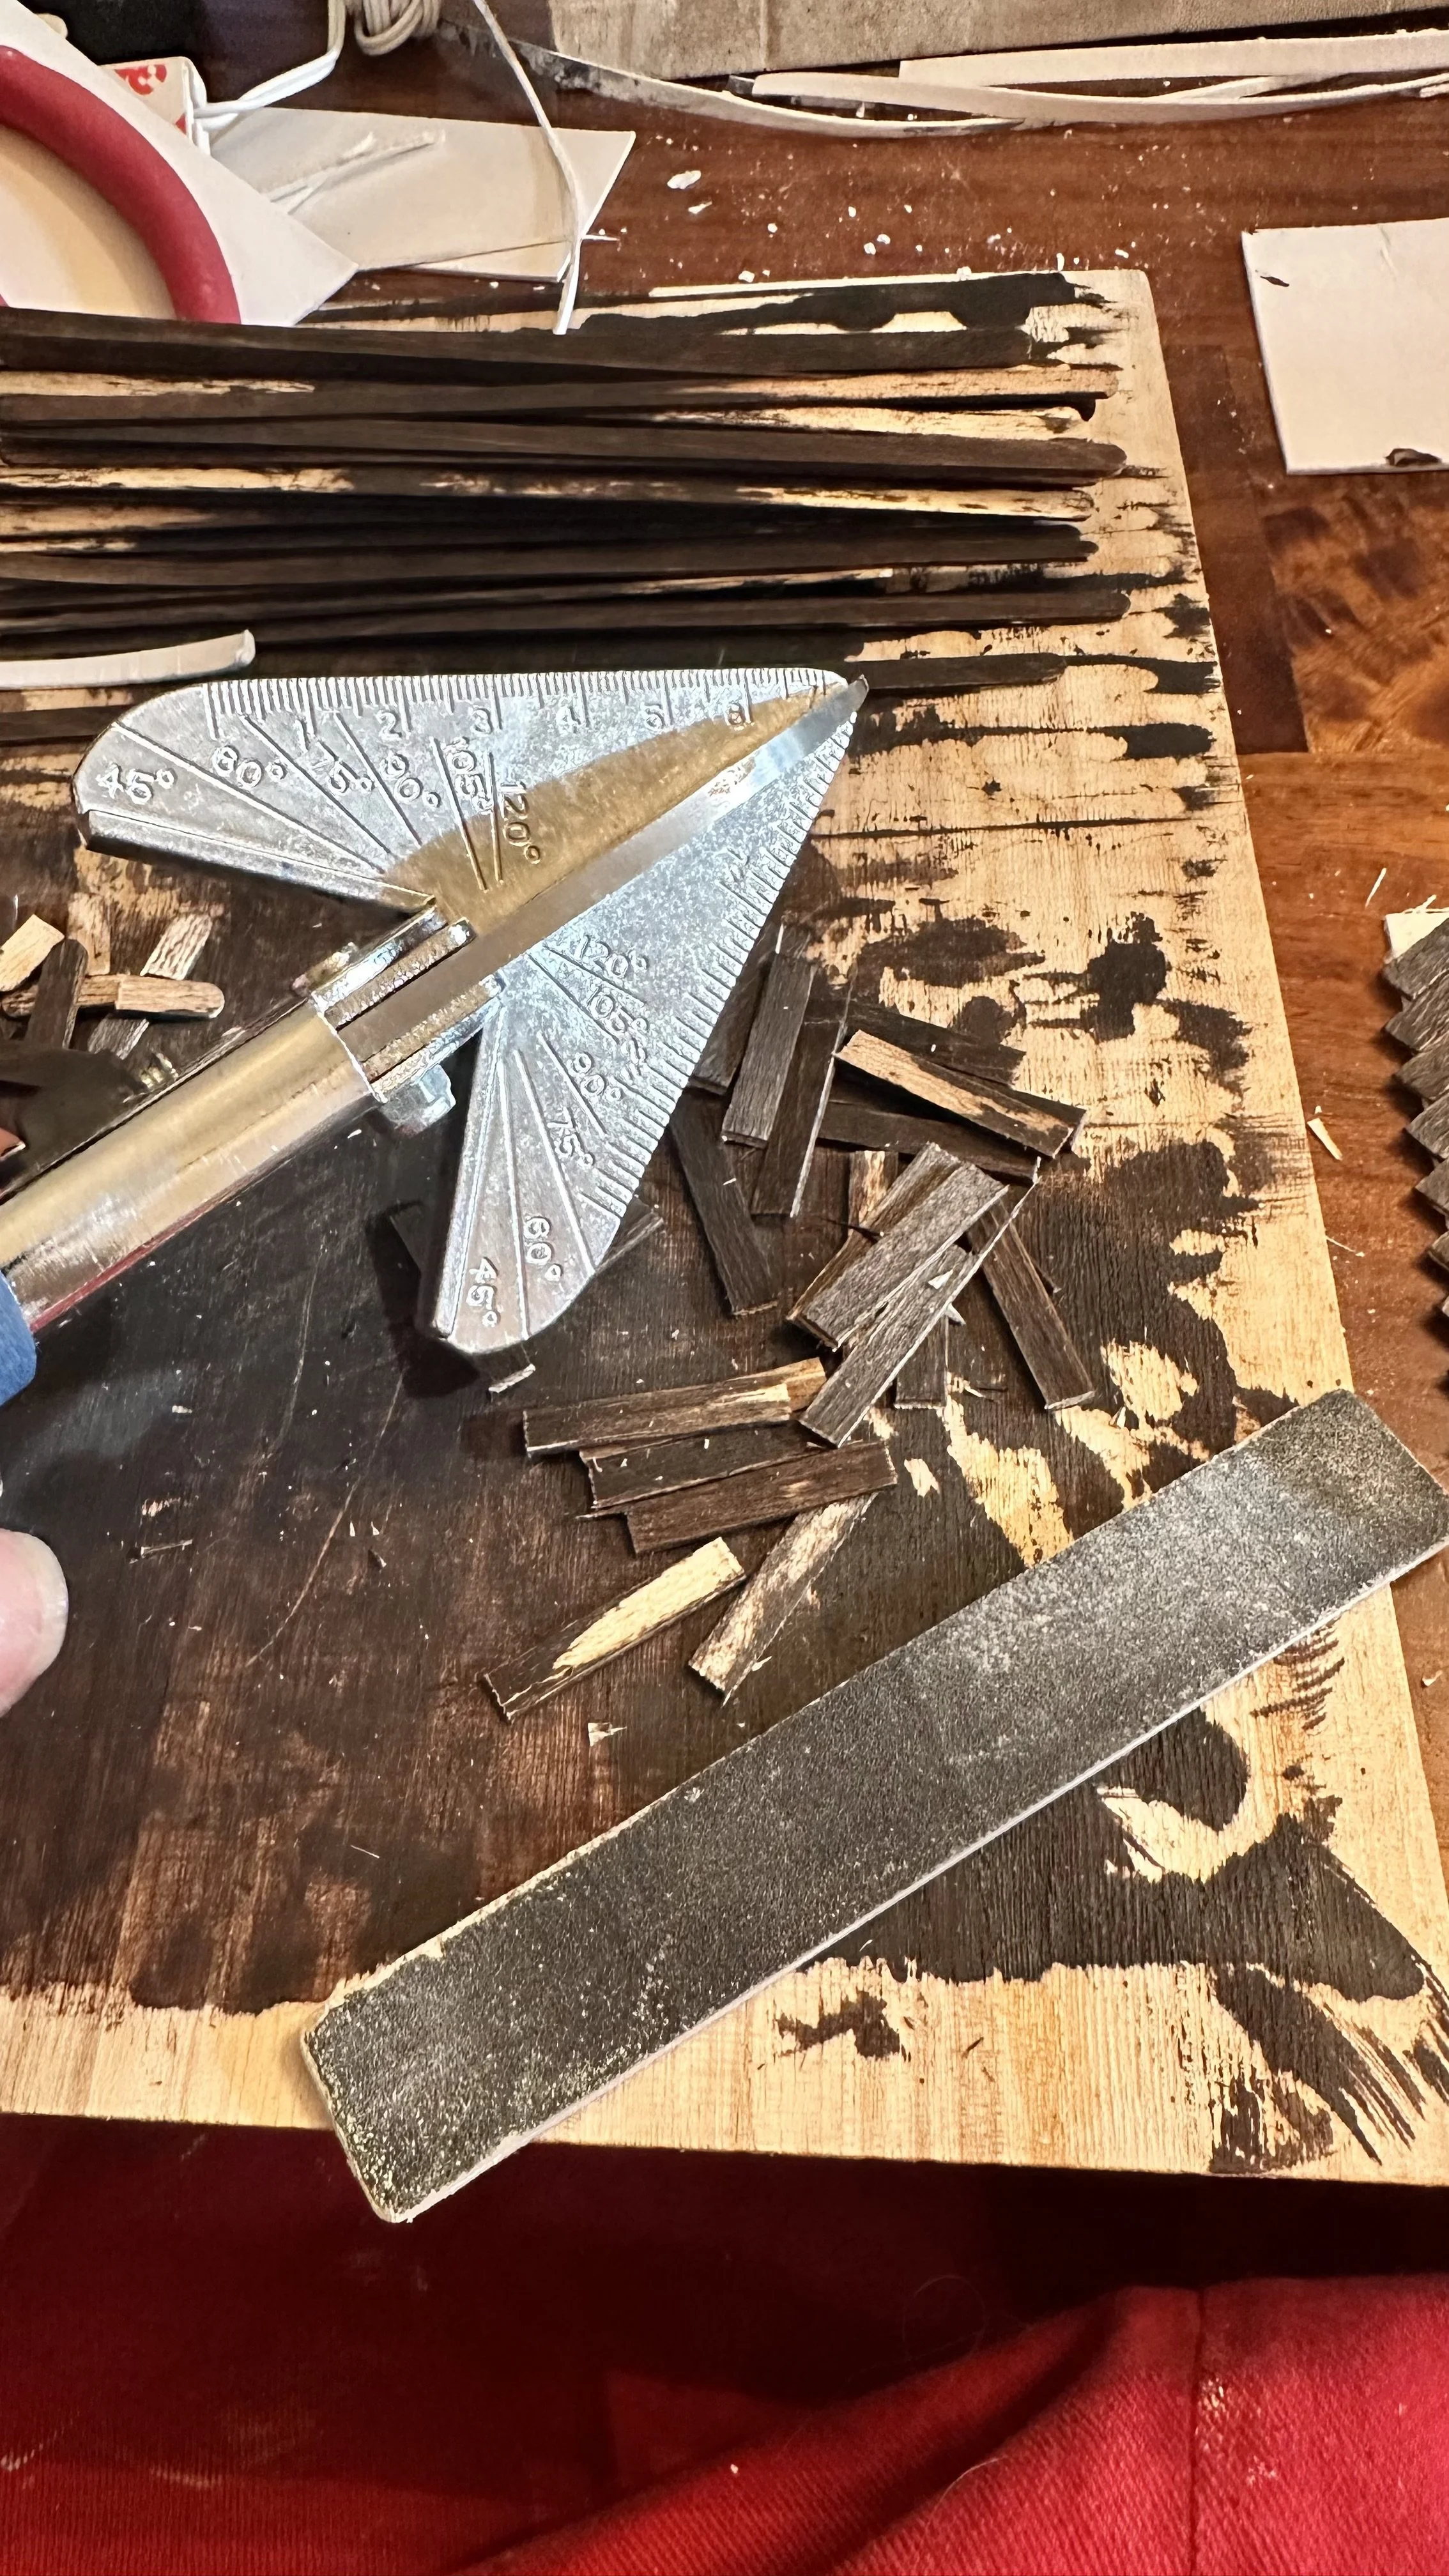
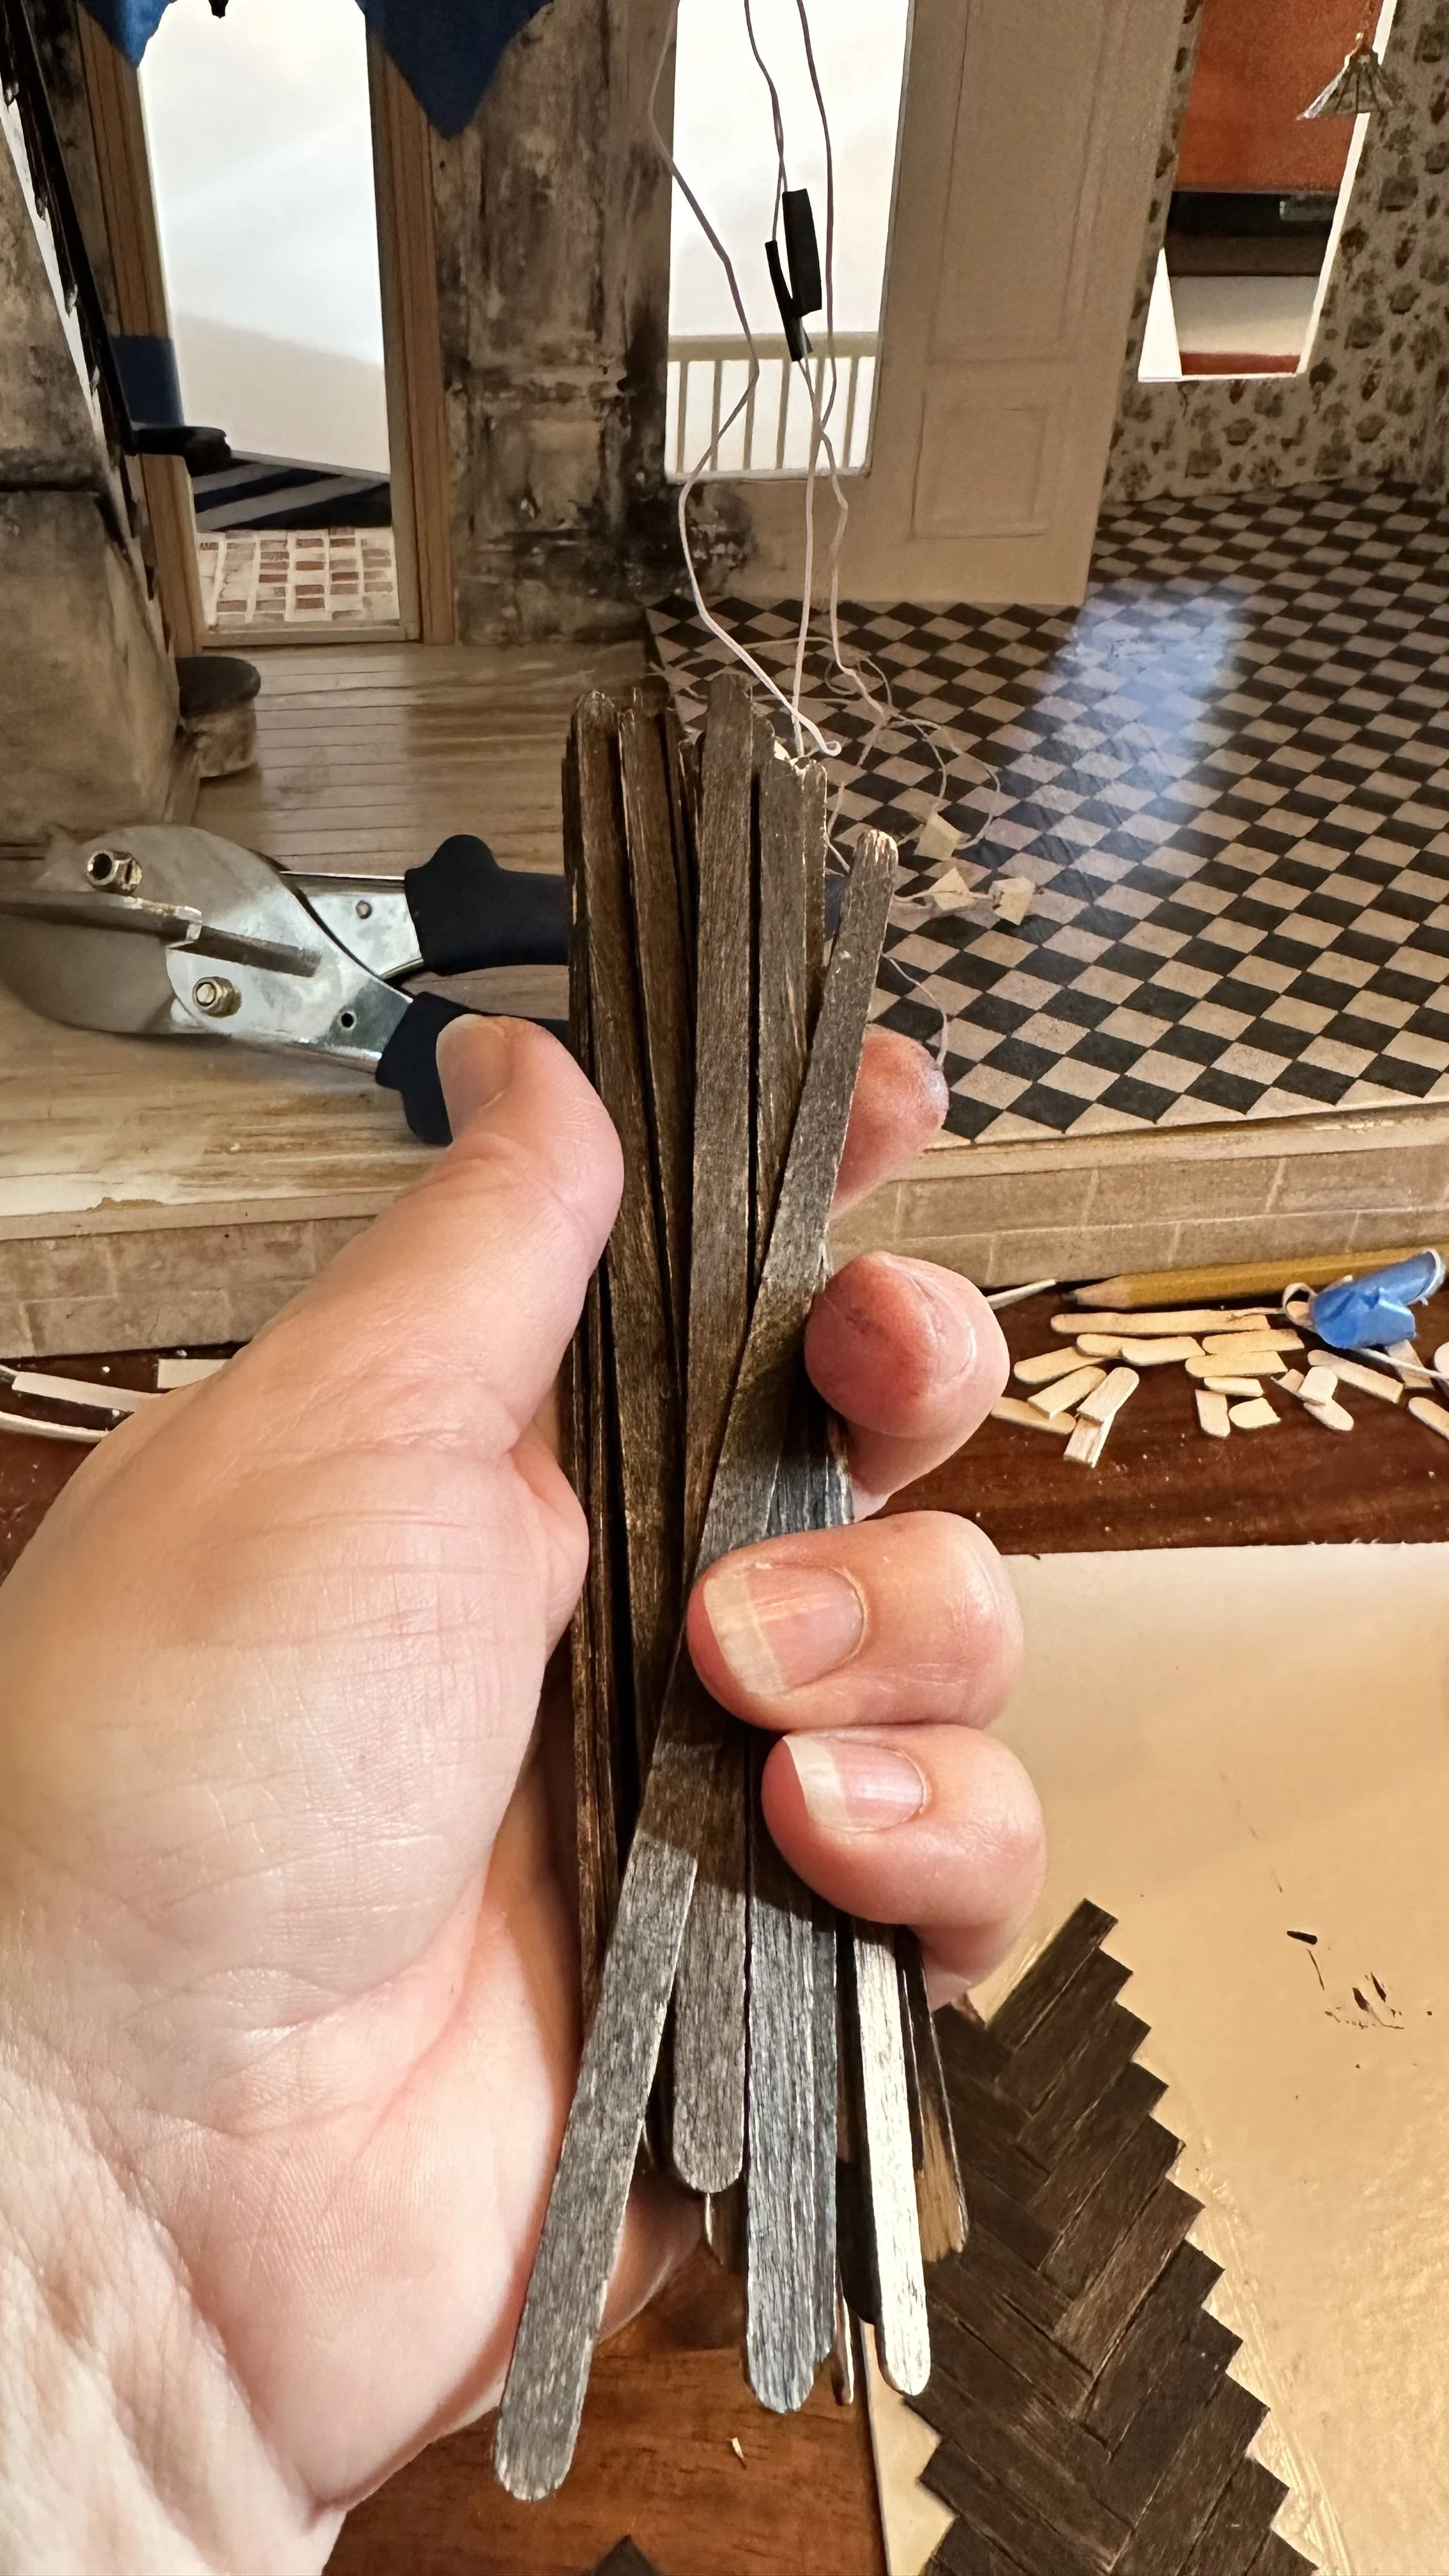
Using miter shears, cut all pieces exactly the same length at a 90º angle to create a pile of rectangular pieces. In this example, each piece is exactly 1 1/8" long.
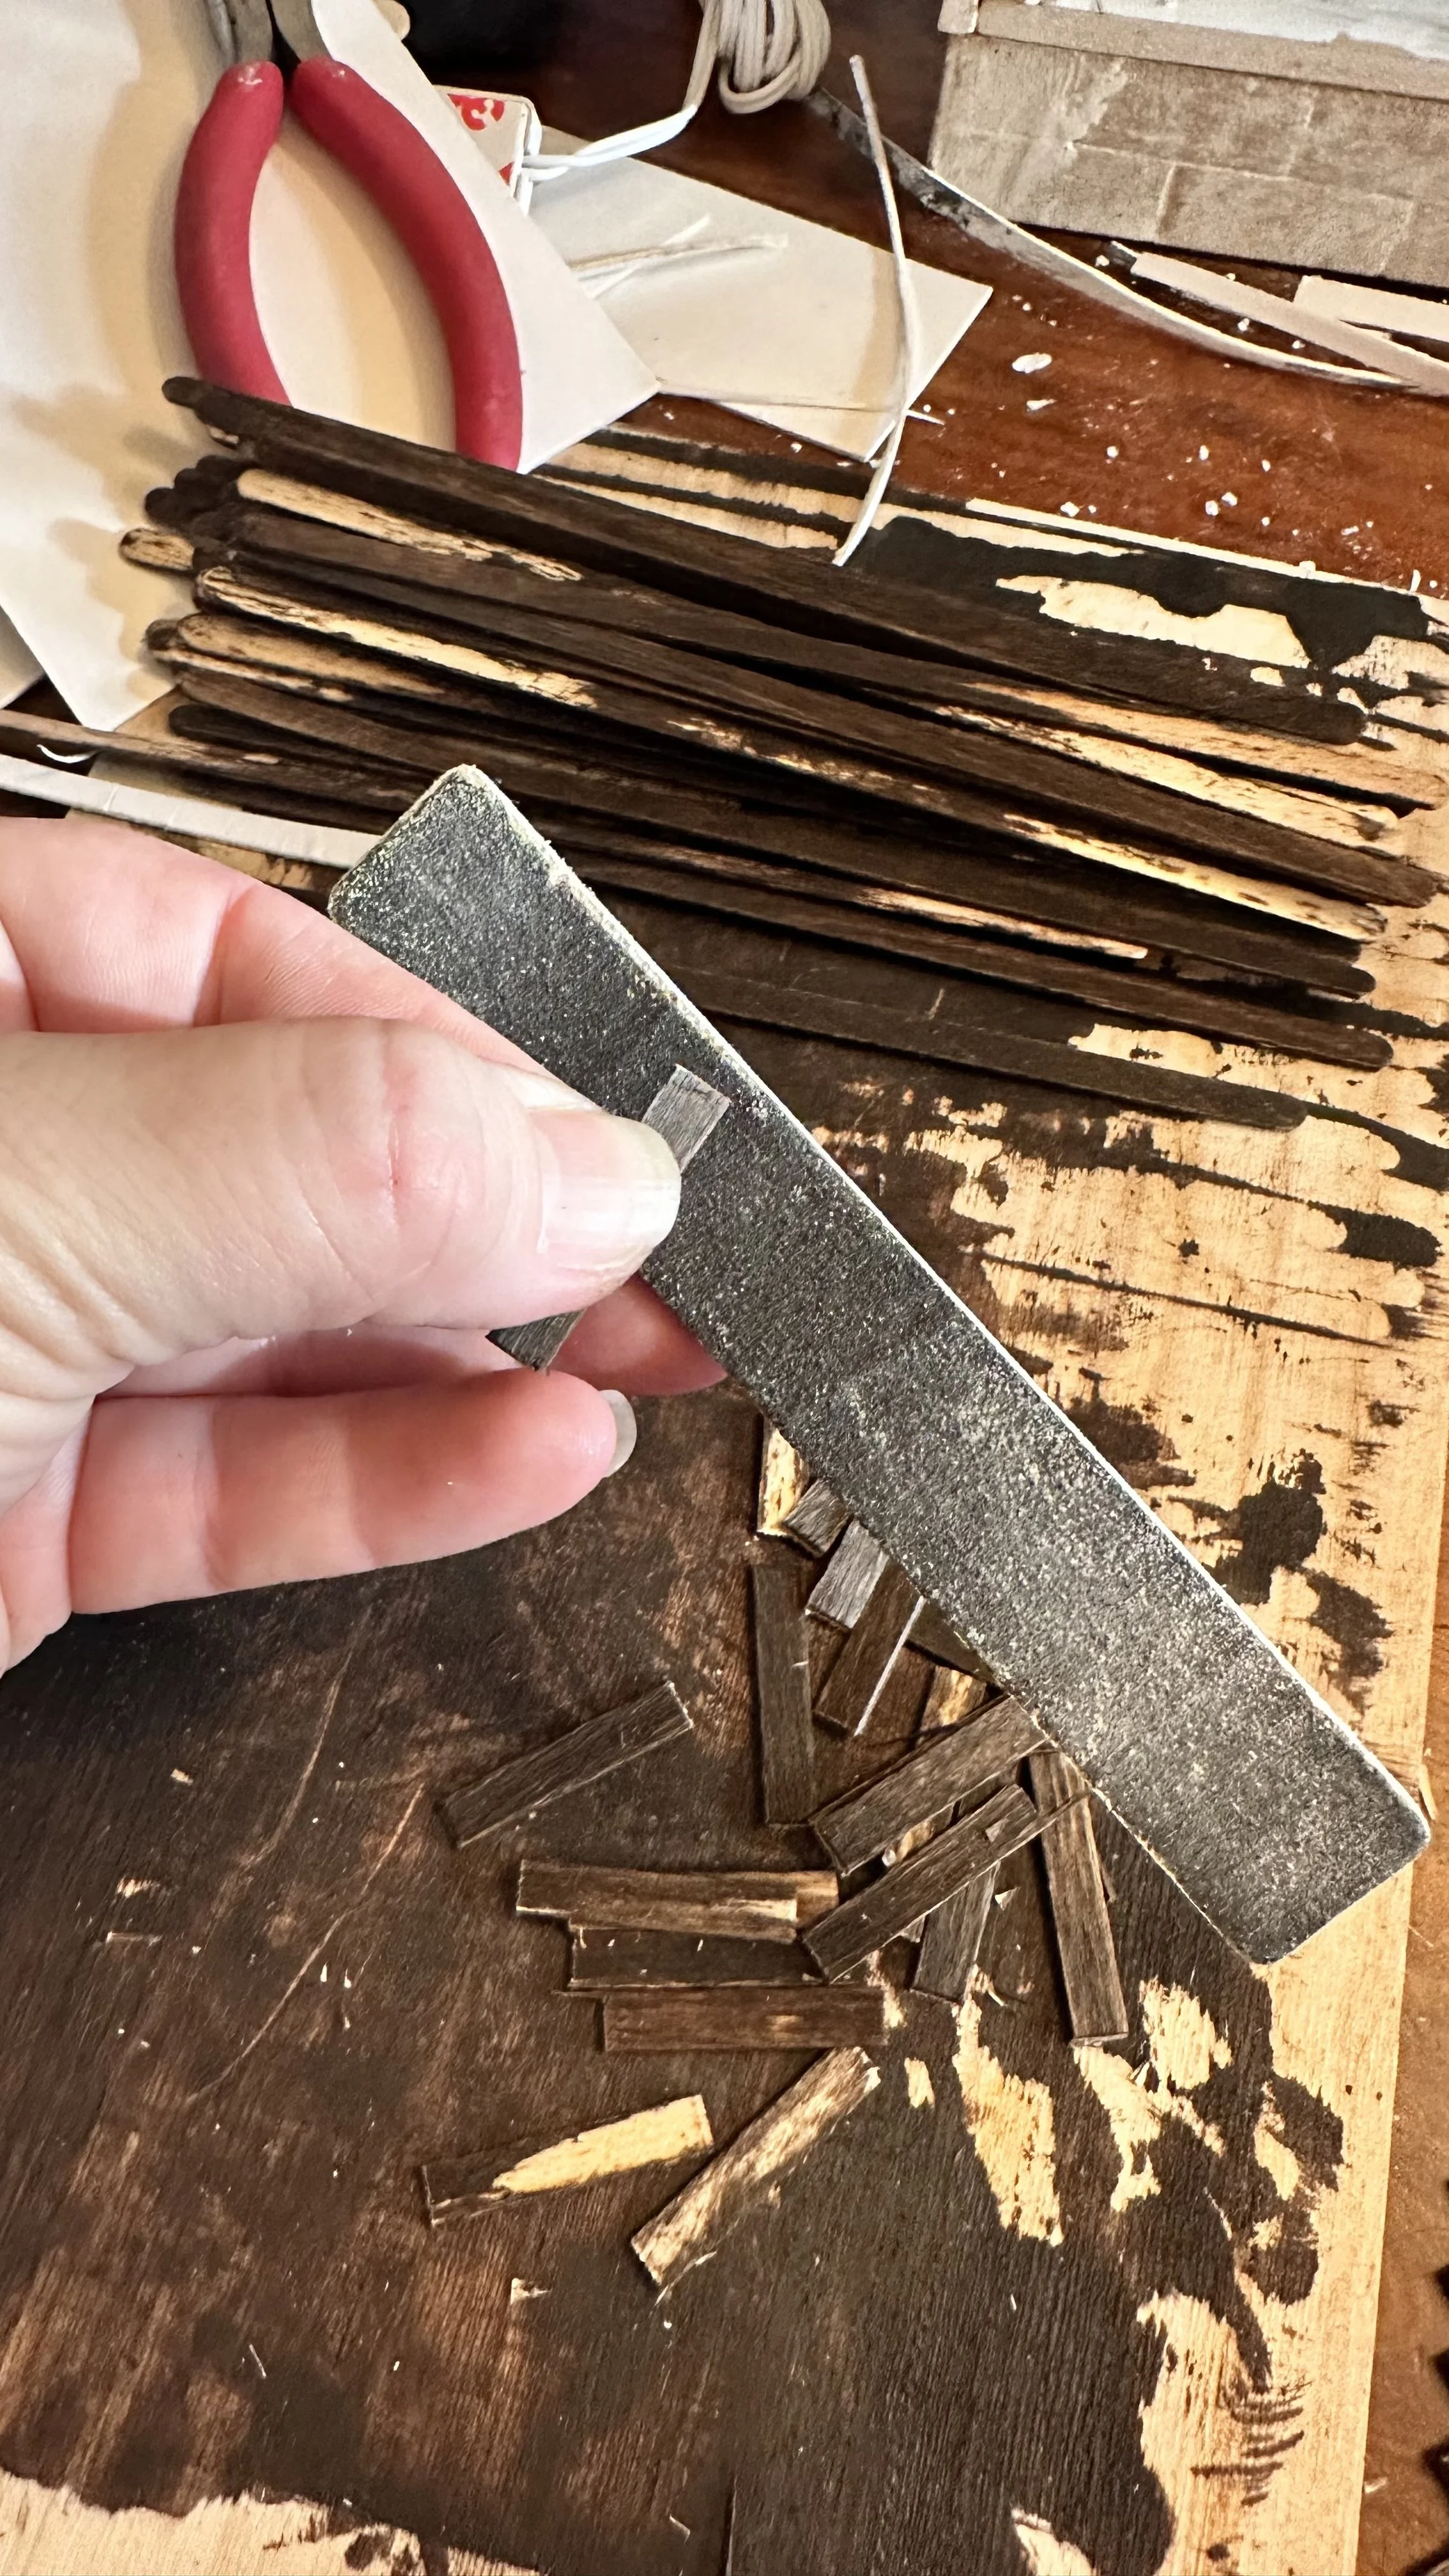
It is helpful to have a sanding block or sanding sticks in a medium grit (around 180) to give the pieces a quick sanding along the edges and cut lines.
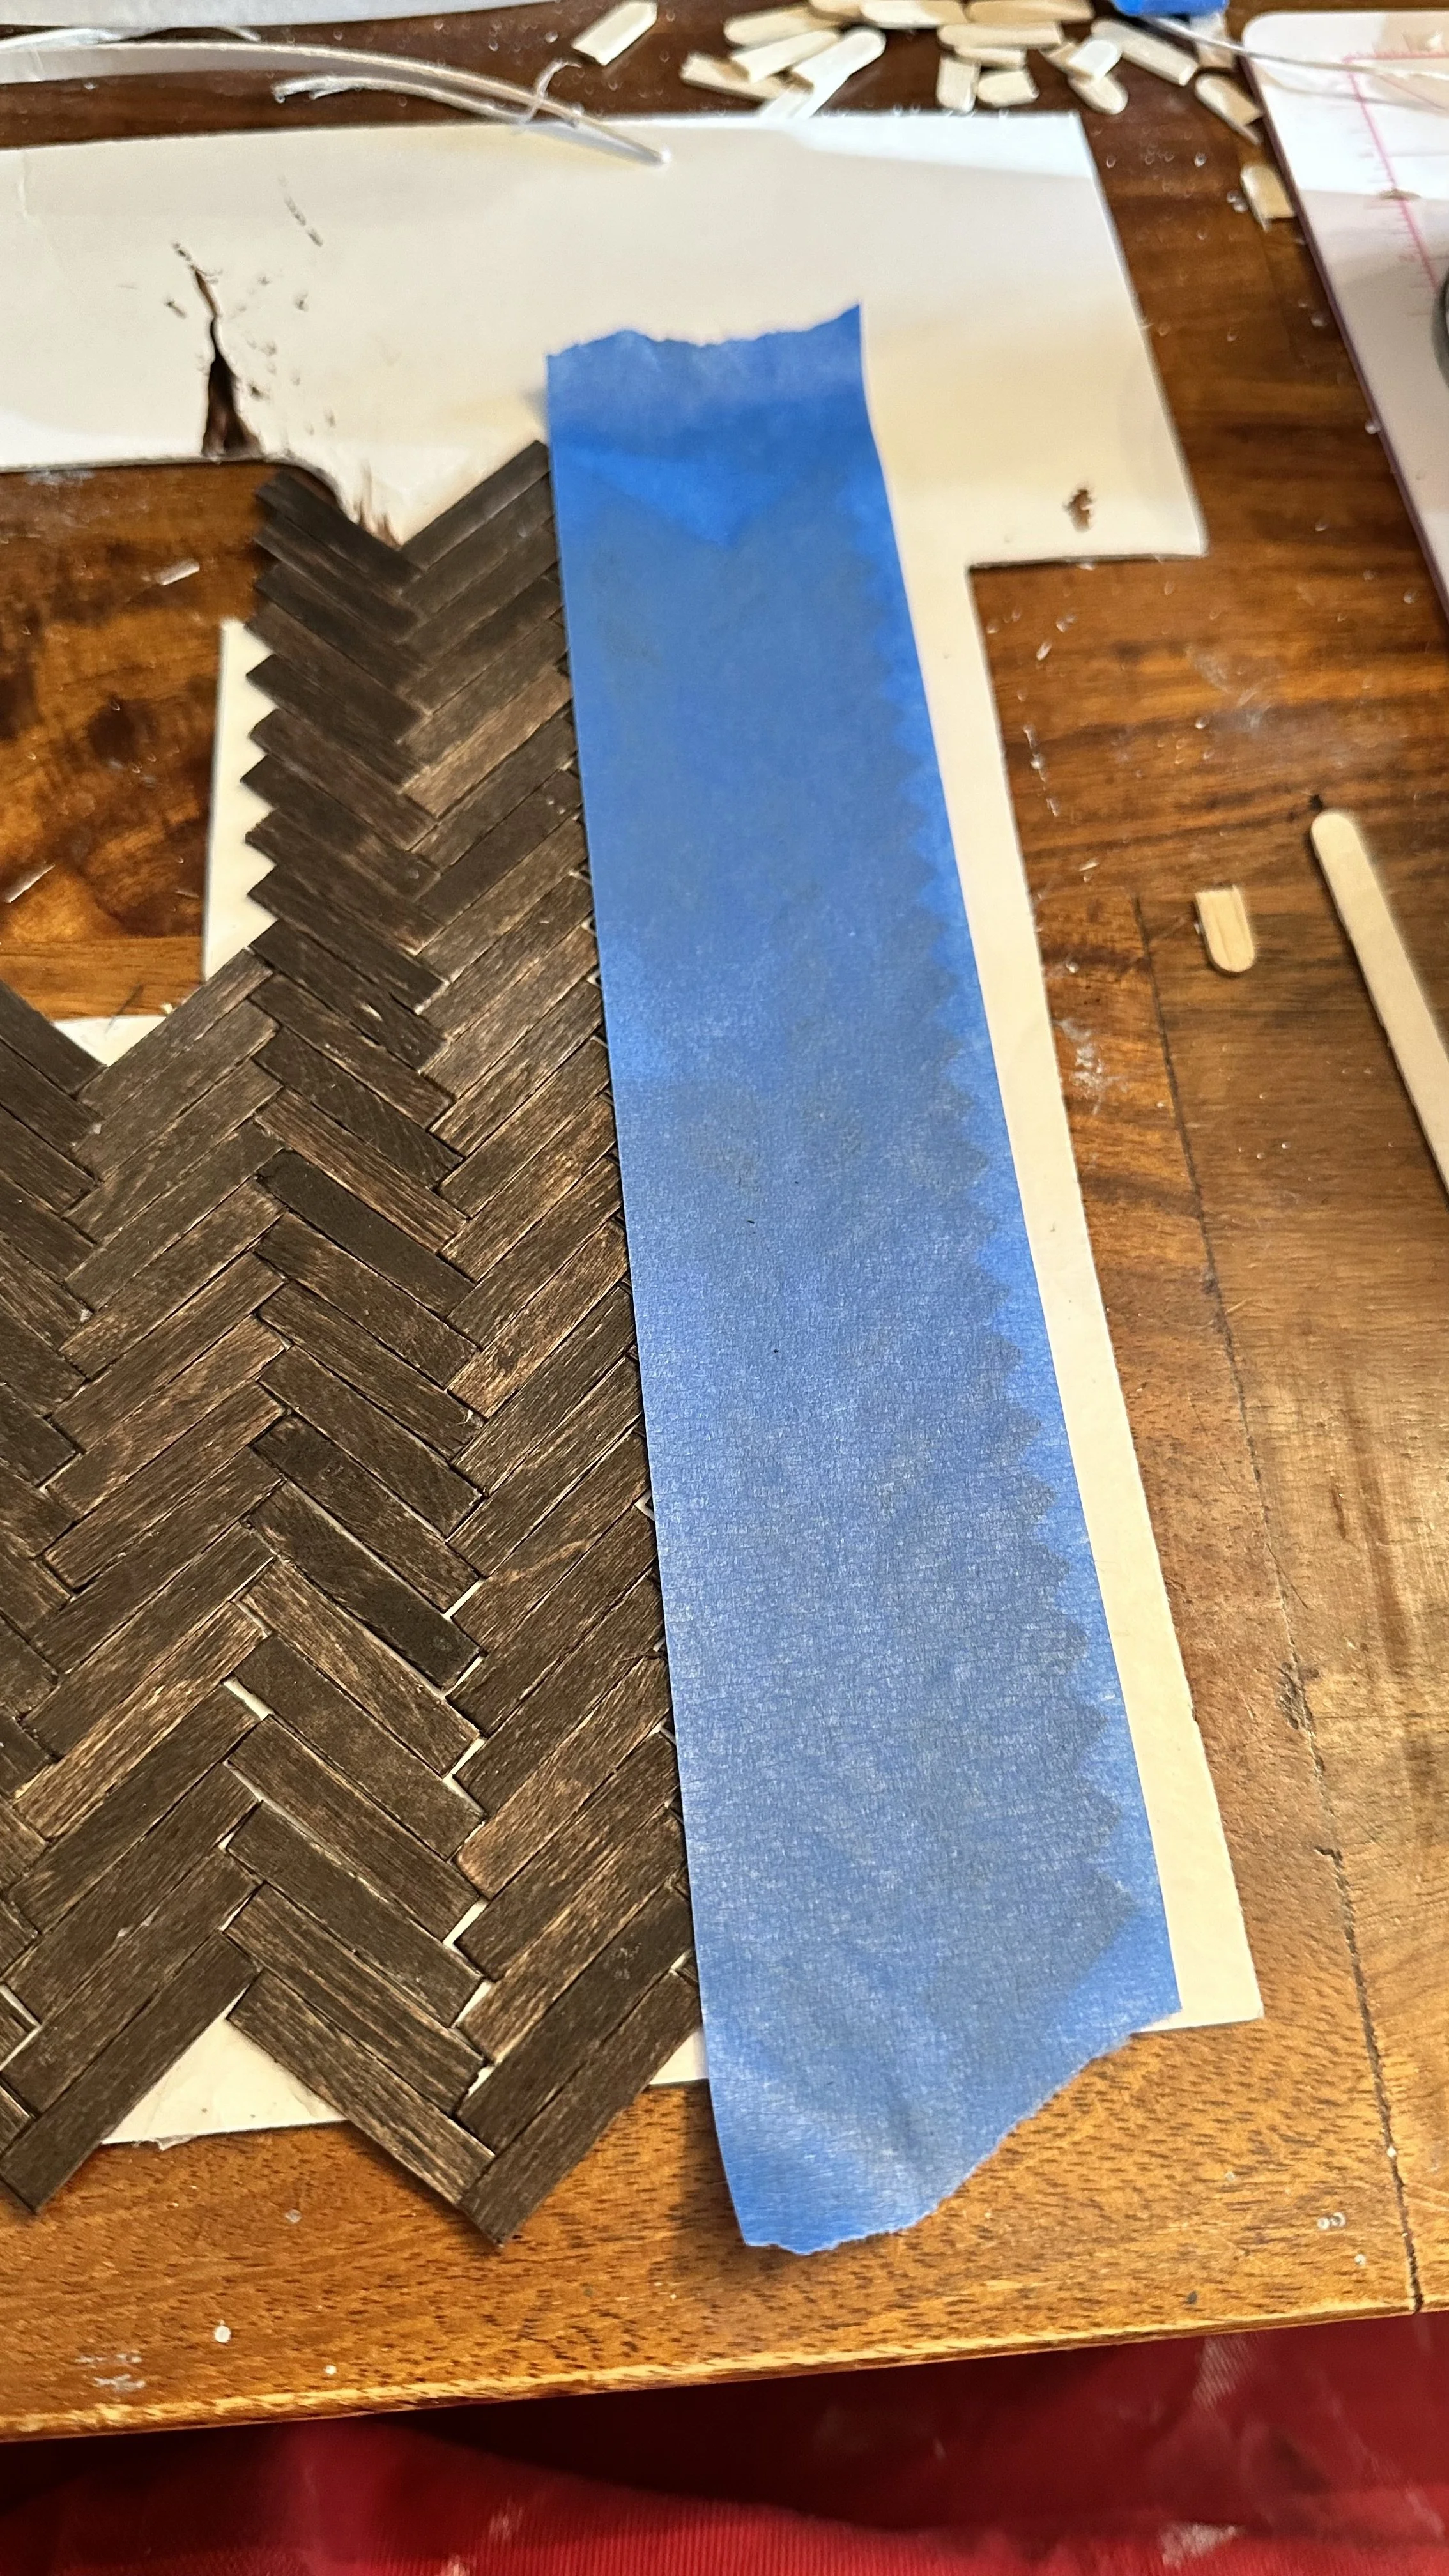
Next, begin laying out the design. It can be helpful to do this on a piece of posterboard that has been precut to fit into the space. (If gluing directly to a dollhouse or roombox floor, trim pieces to fit the edges as you dry fit.) This step can be tedious, but painters tape can be a timesaver. Lay down the sticks in the desired pattern for a dry fit, tape securely with painters tape and lift up a few rows at a time. Apply glue to the surface, then press the taped row of pieces into the glue.
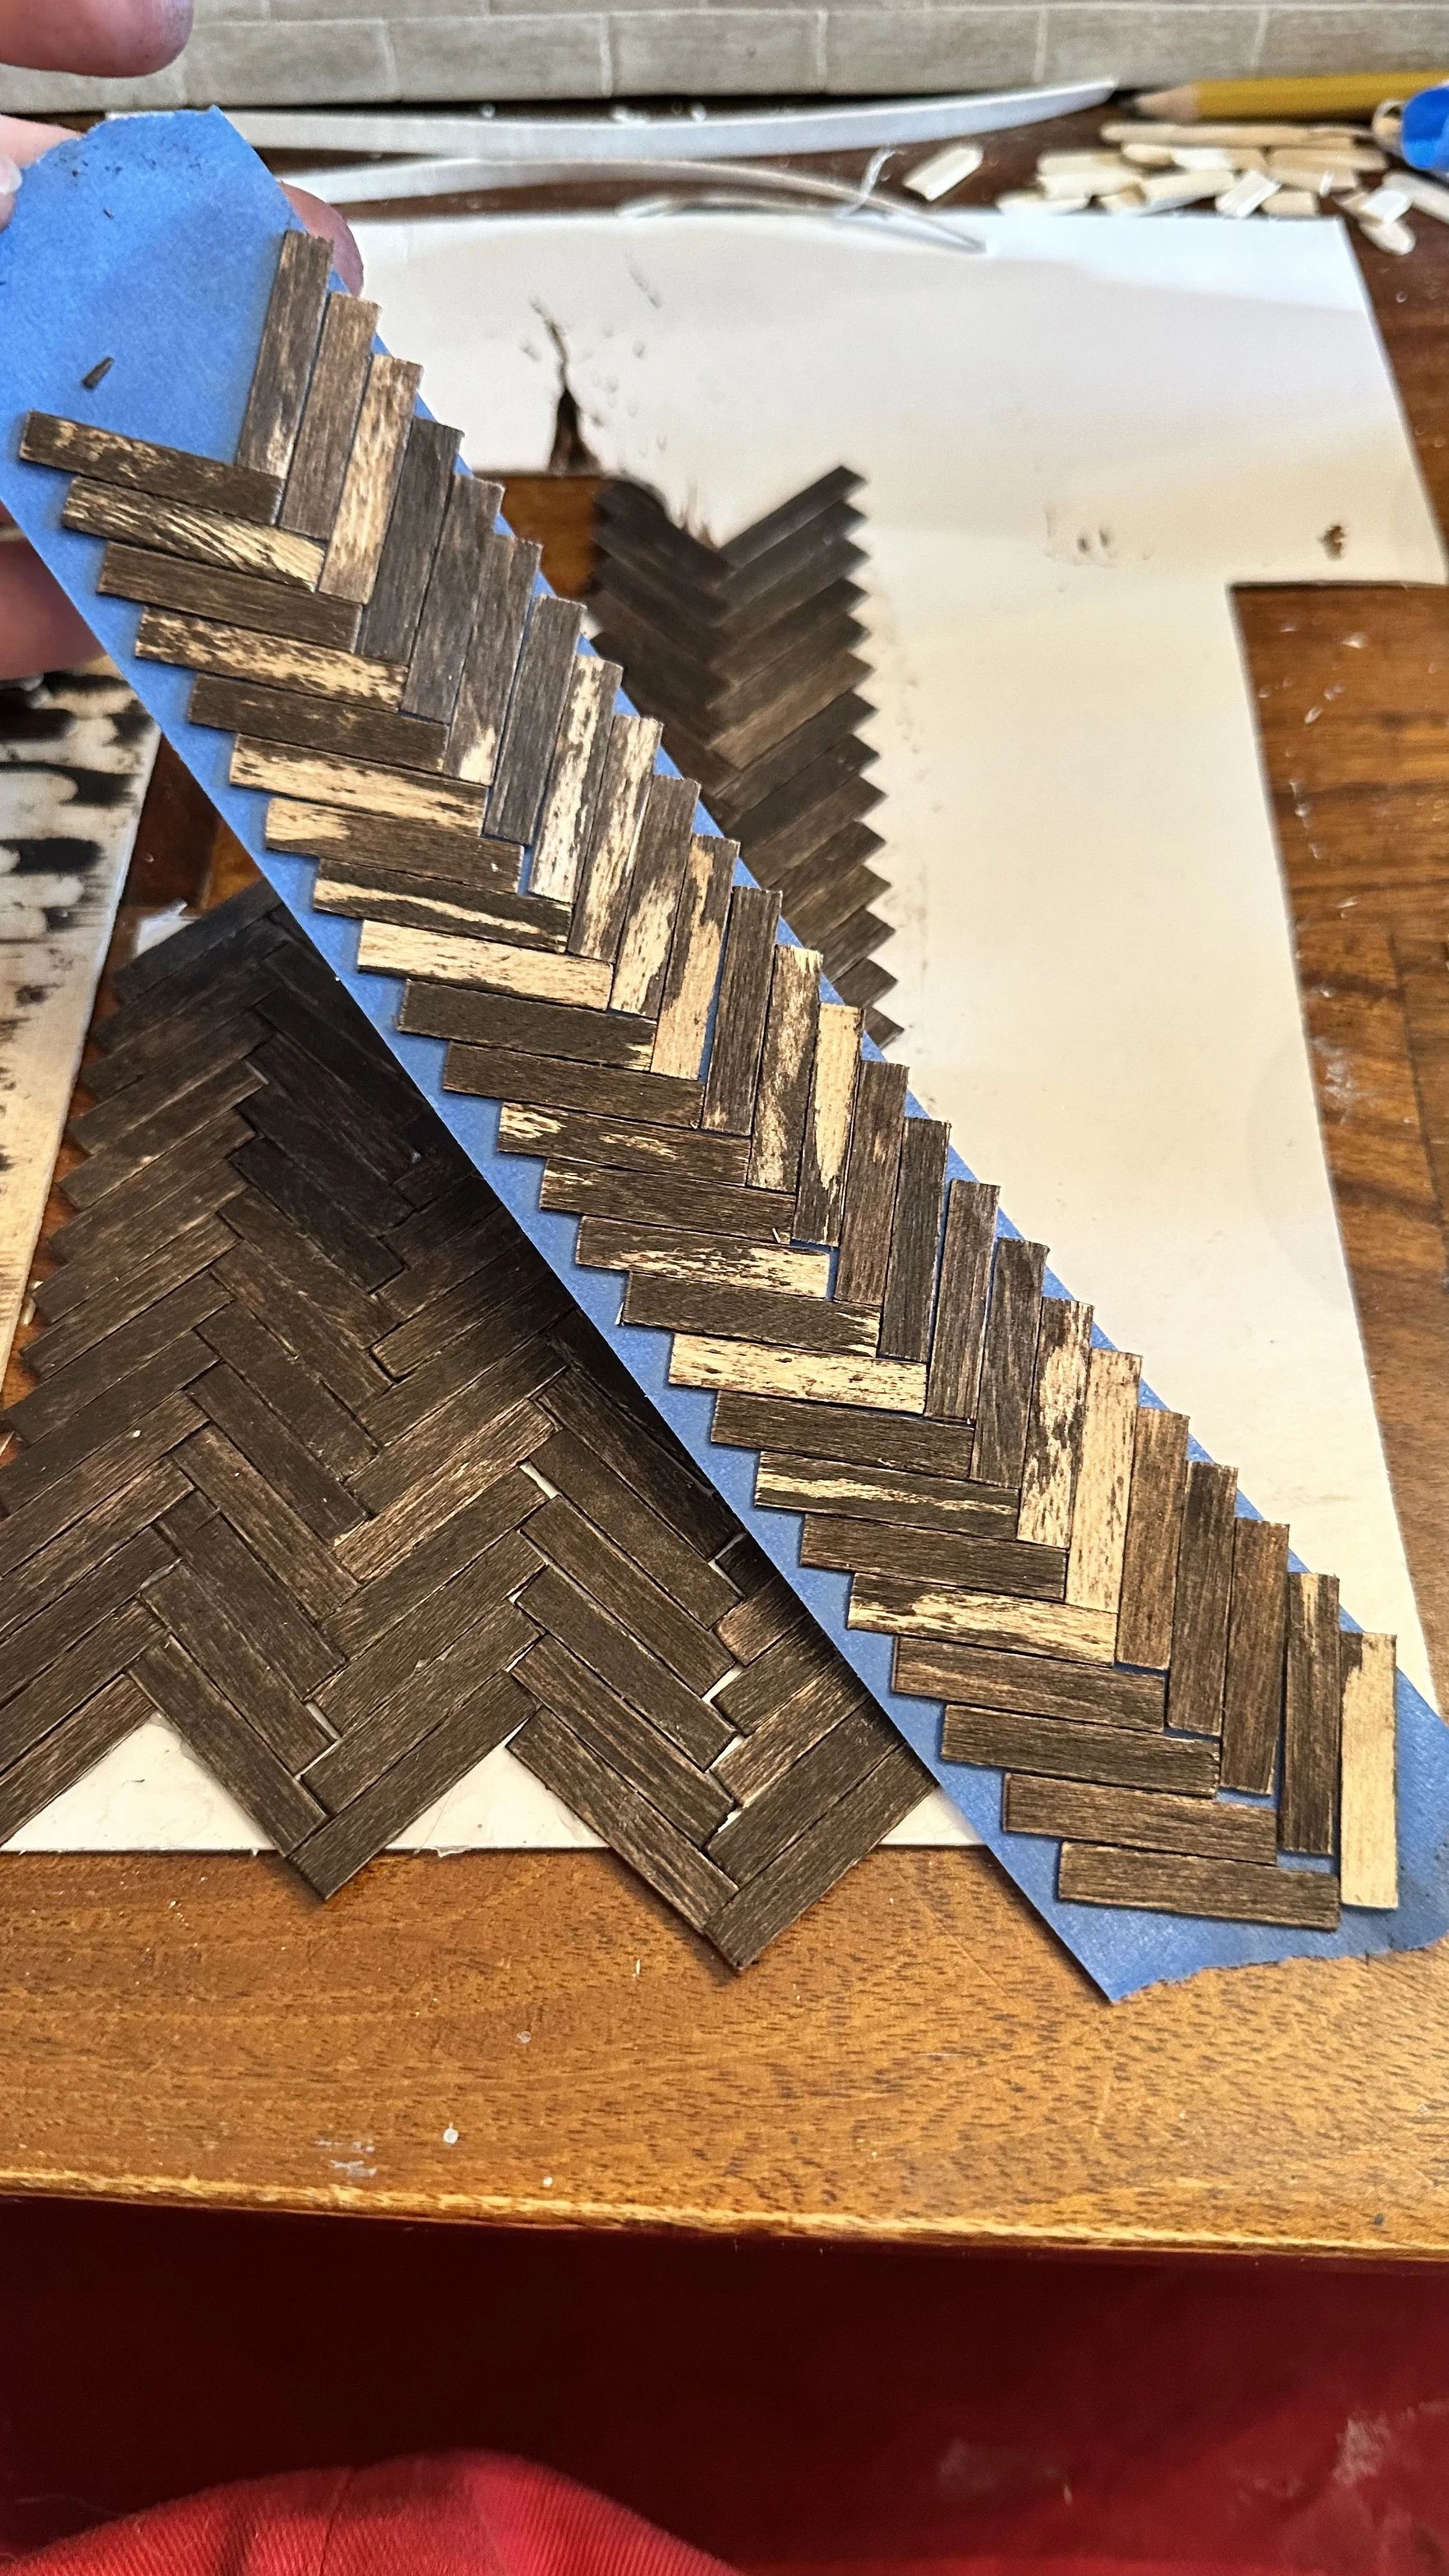
Here you see the underside of the taped sticks. This will be pressed into the glue-coated surface. The best glue to use is a paste (such as Yes! paste) that will allow some movement before setting so that adjustments can be made.

If posterboard is being used, trim the pieces after gluing. (I find this to be an advantage of using posterboard instead of gluing directly to a dollhouse floor, because trimming is easier after gluing that trimming during the dry fit stage.)
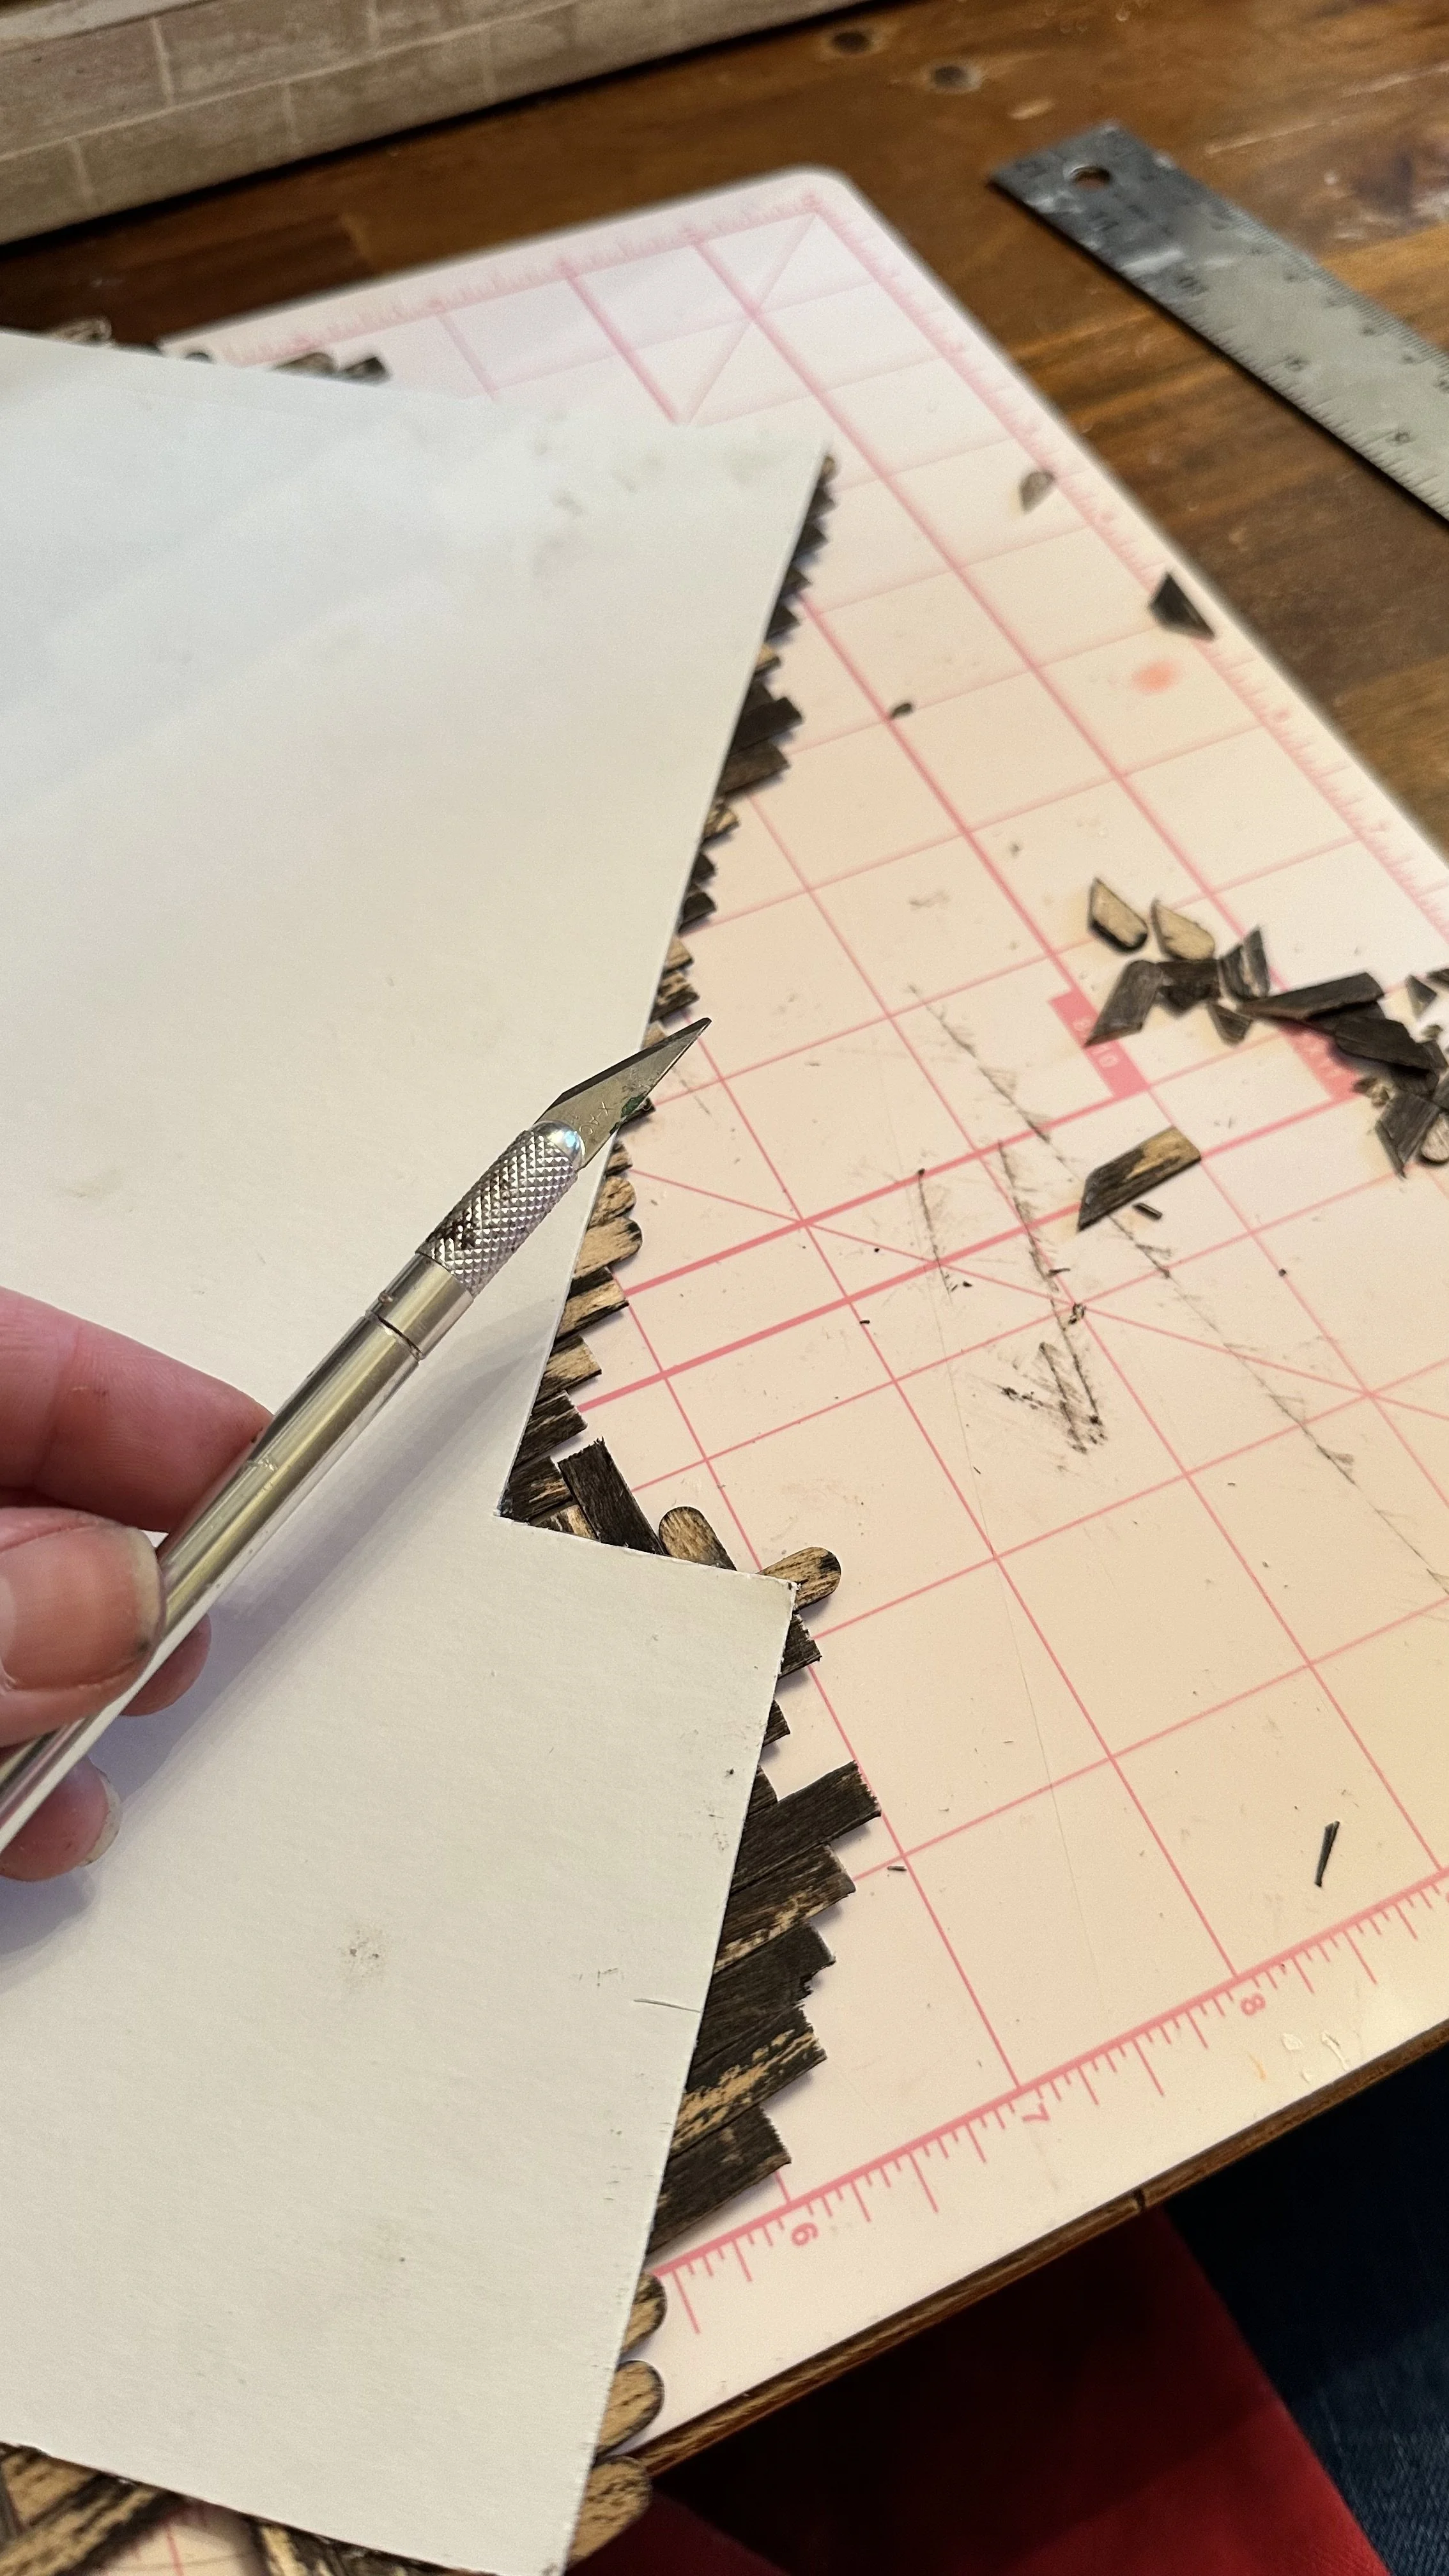
To trim, turn the posterboard over and cut the edges with a very sharp blade.
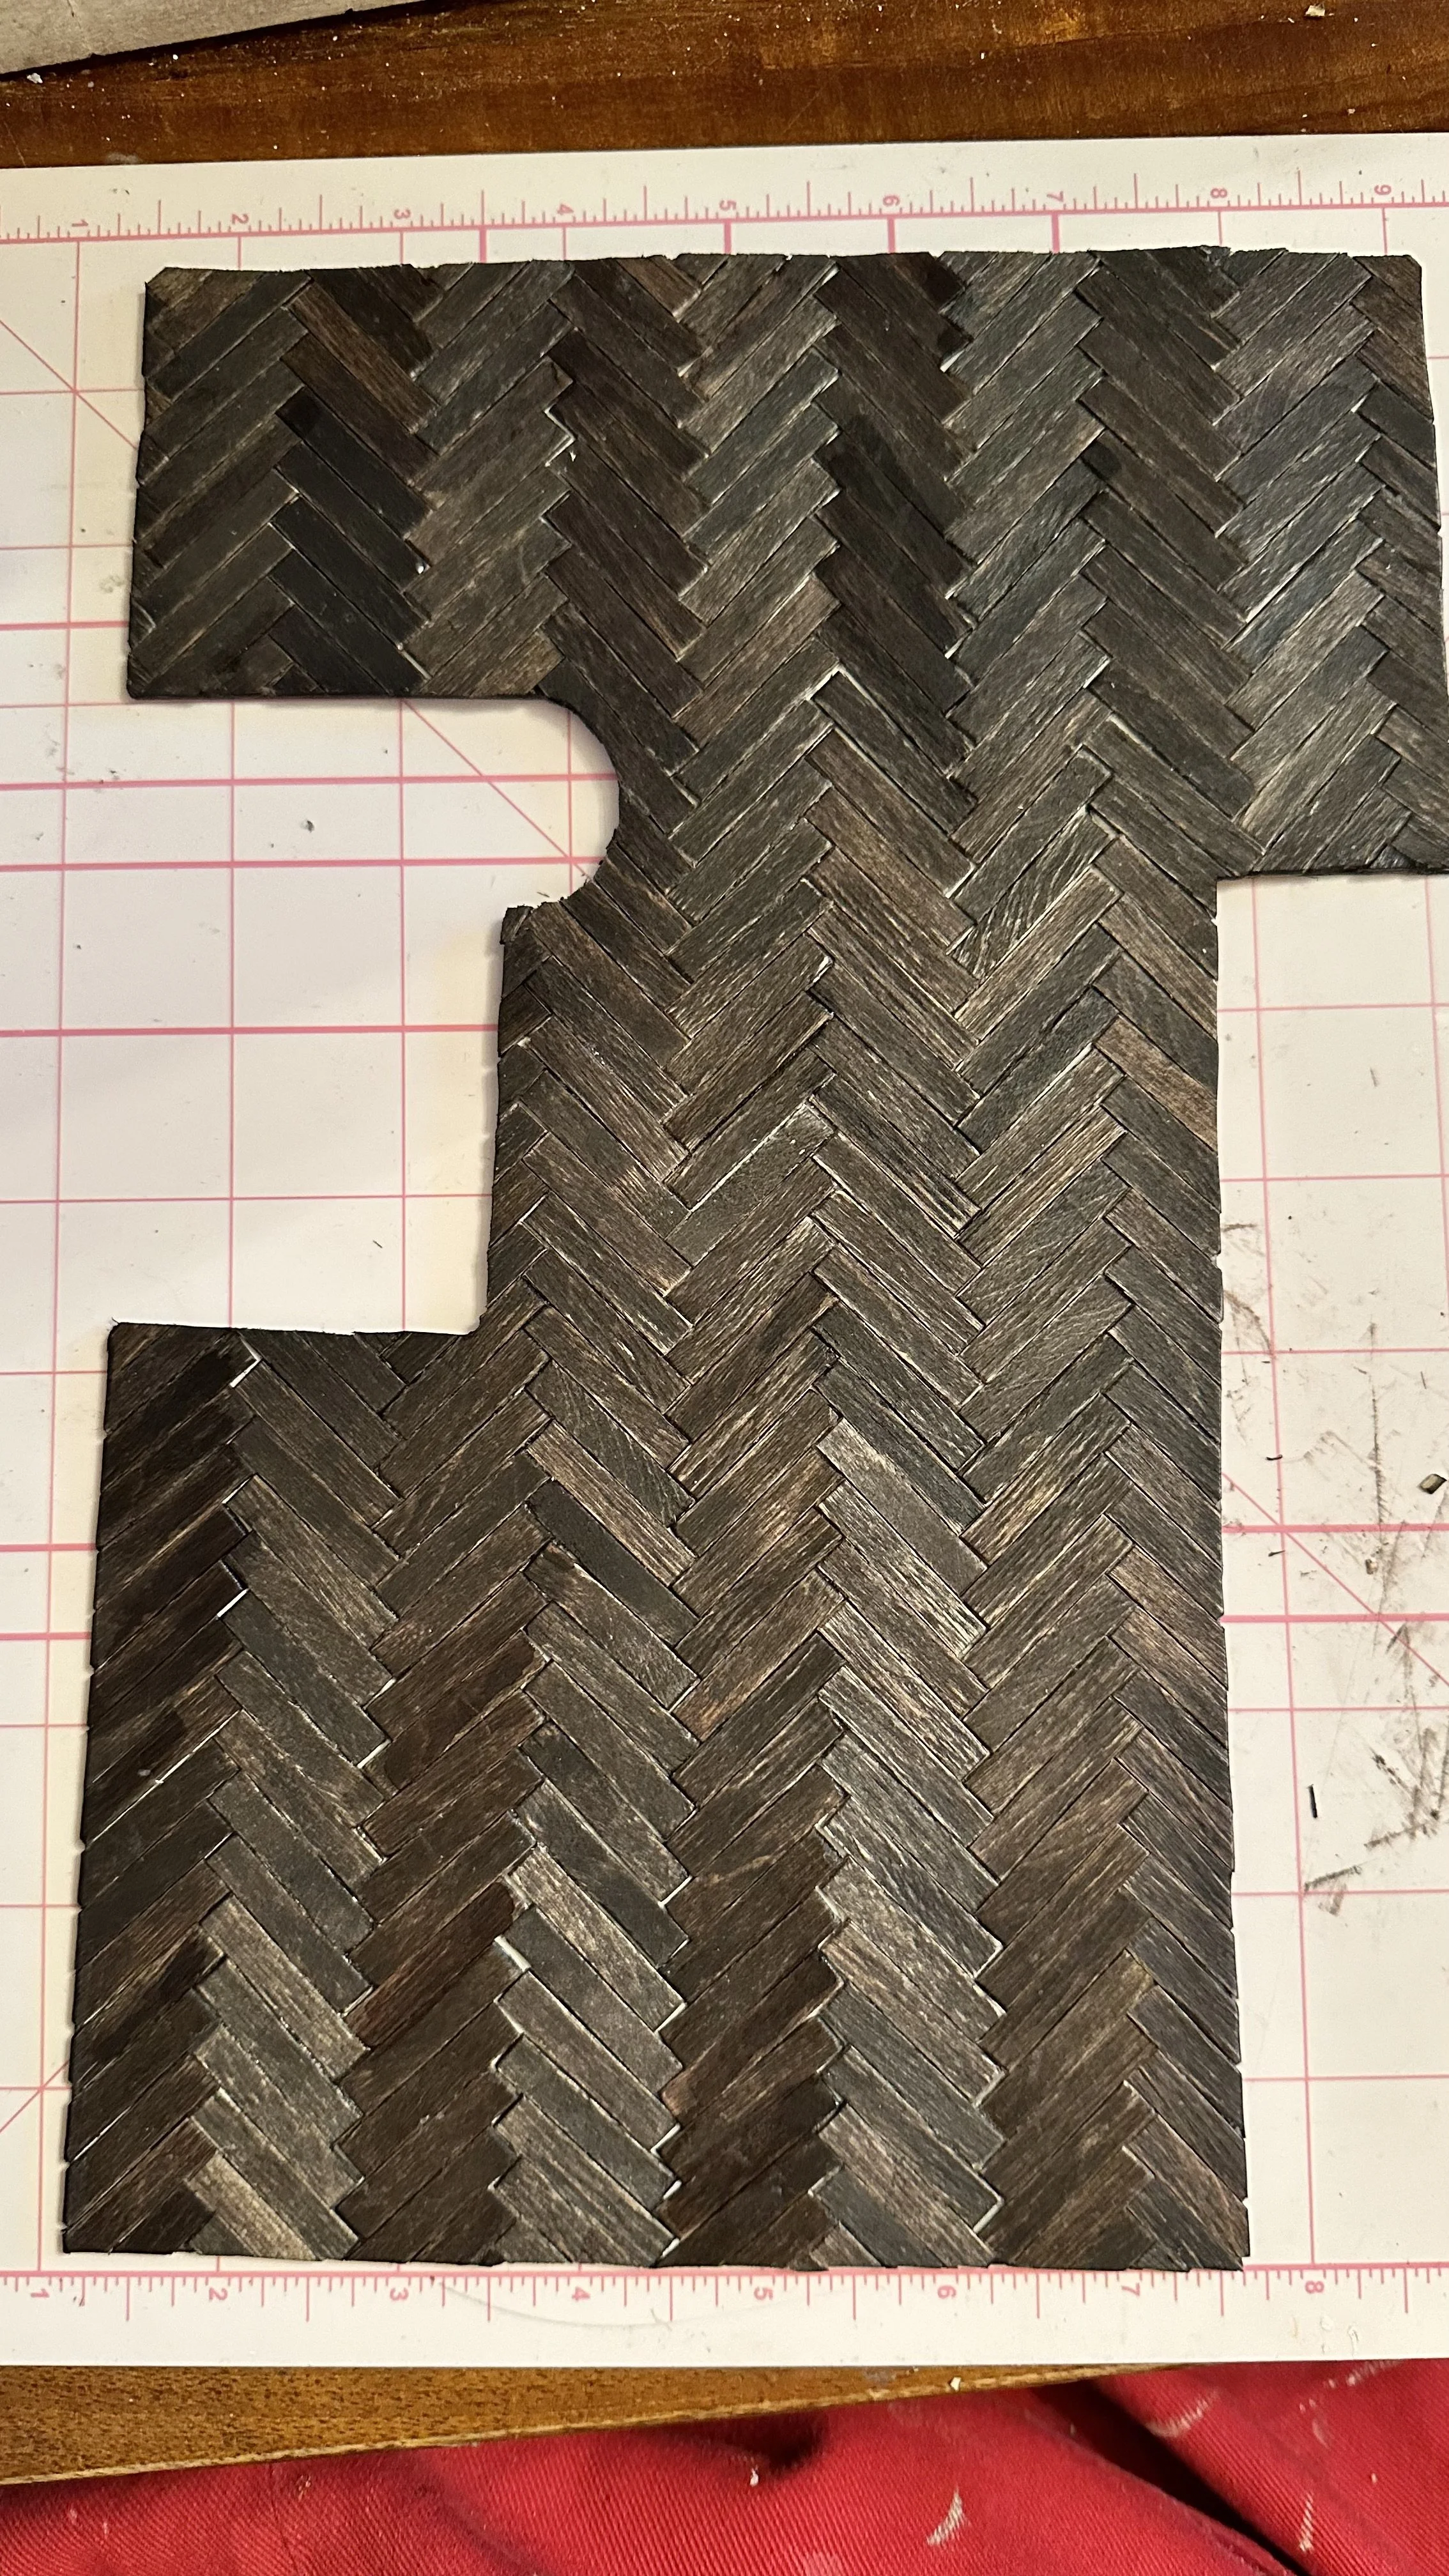
Here is the finished product. If a cozier fit between sticks is desired, wood filler can help. At this stage, you can seal the wood with varnish. In this example, the floors will not be sealed because they are part of an abandoned scene.
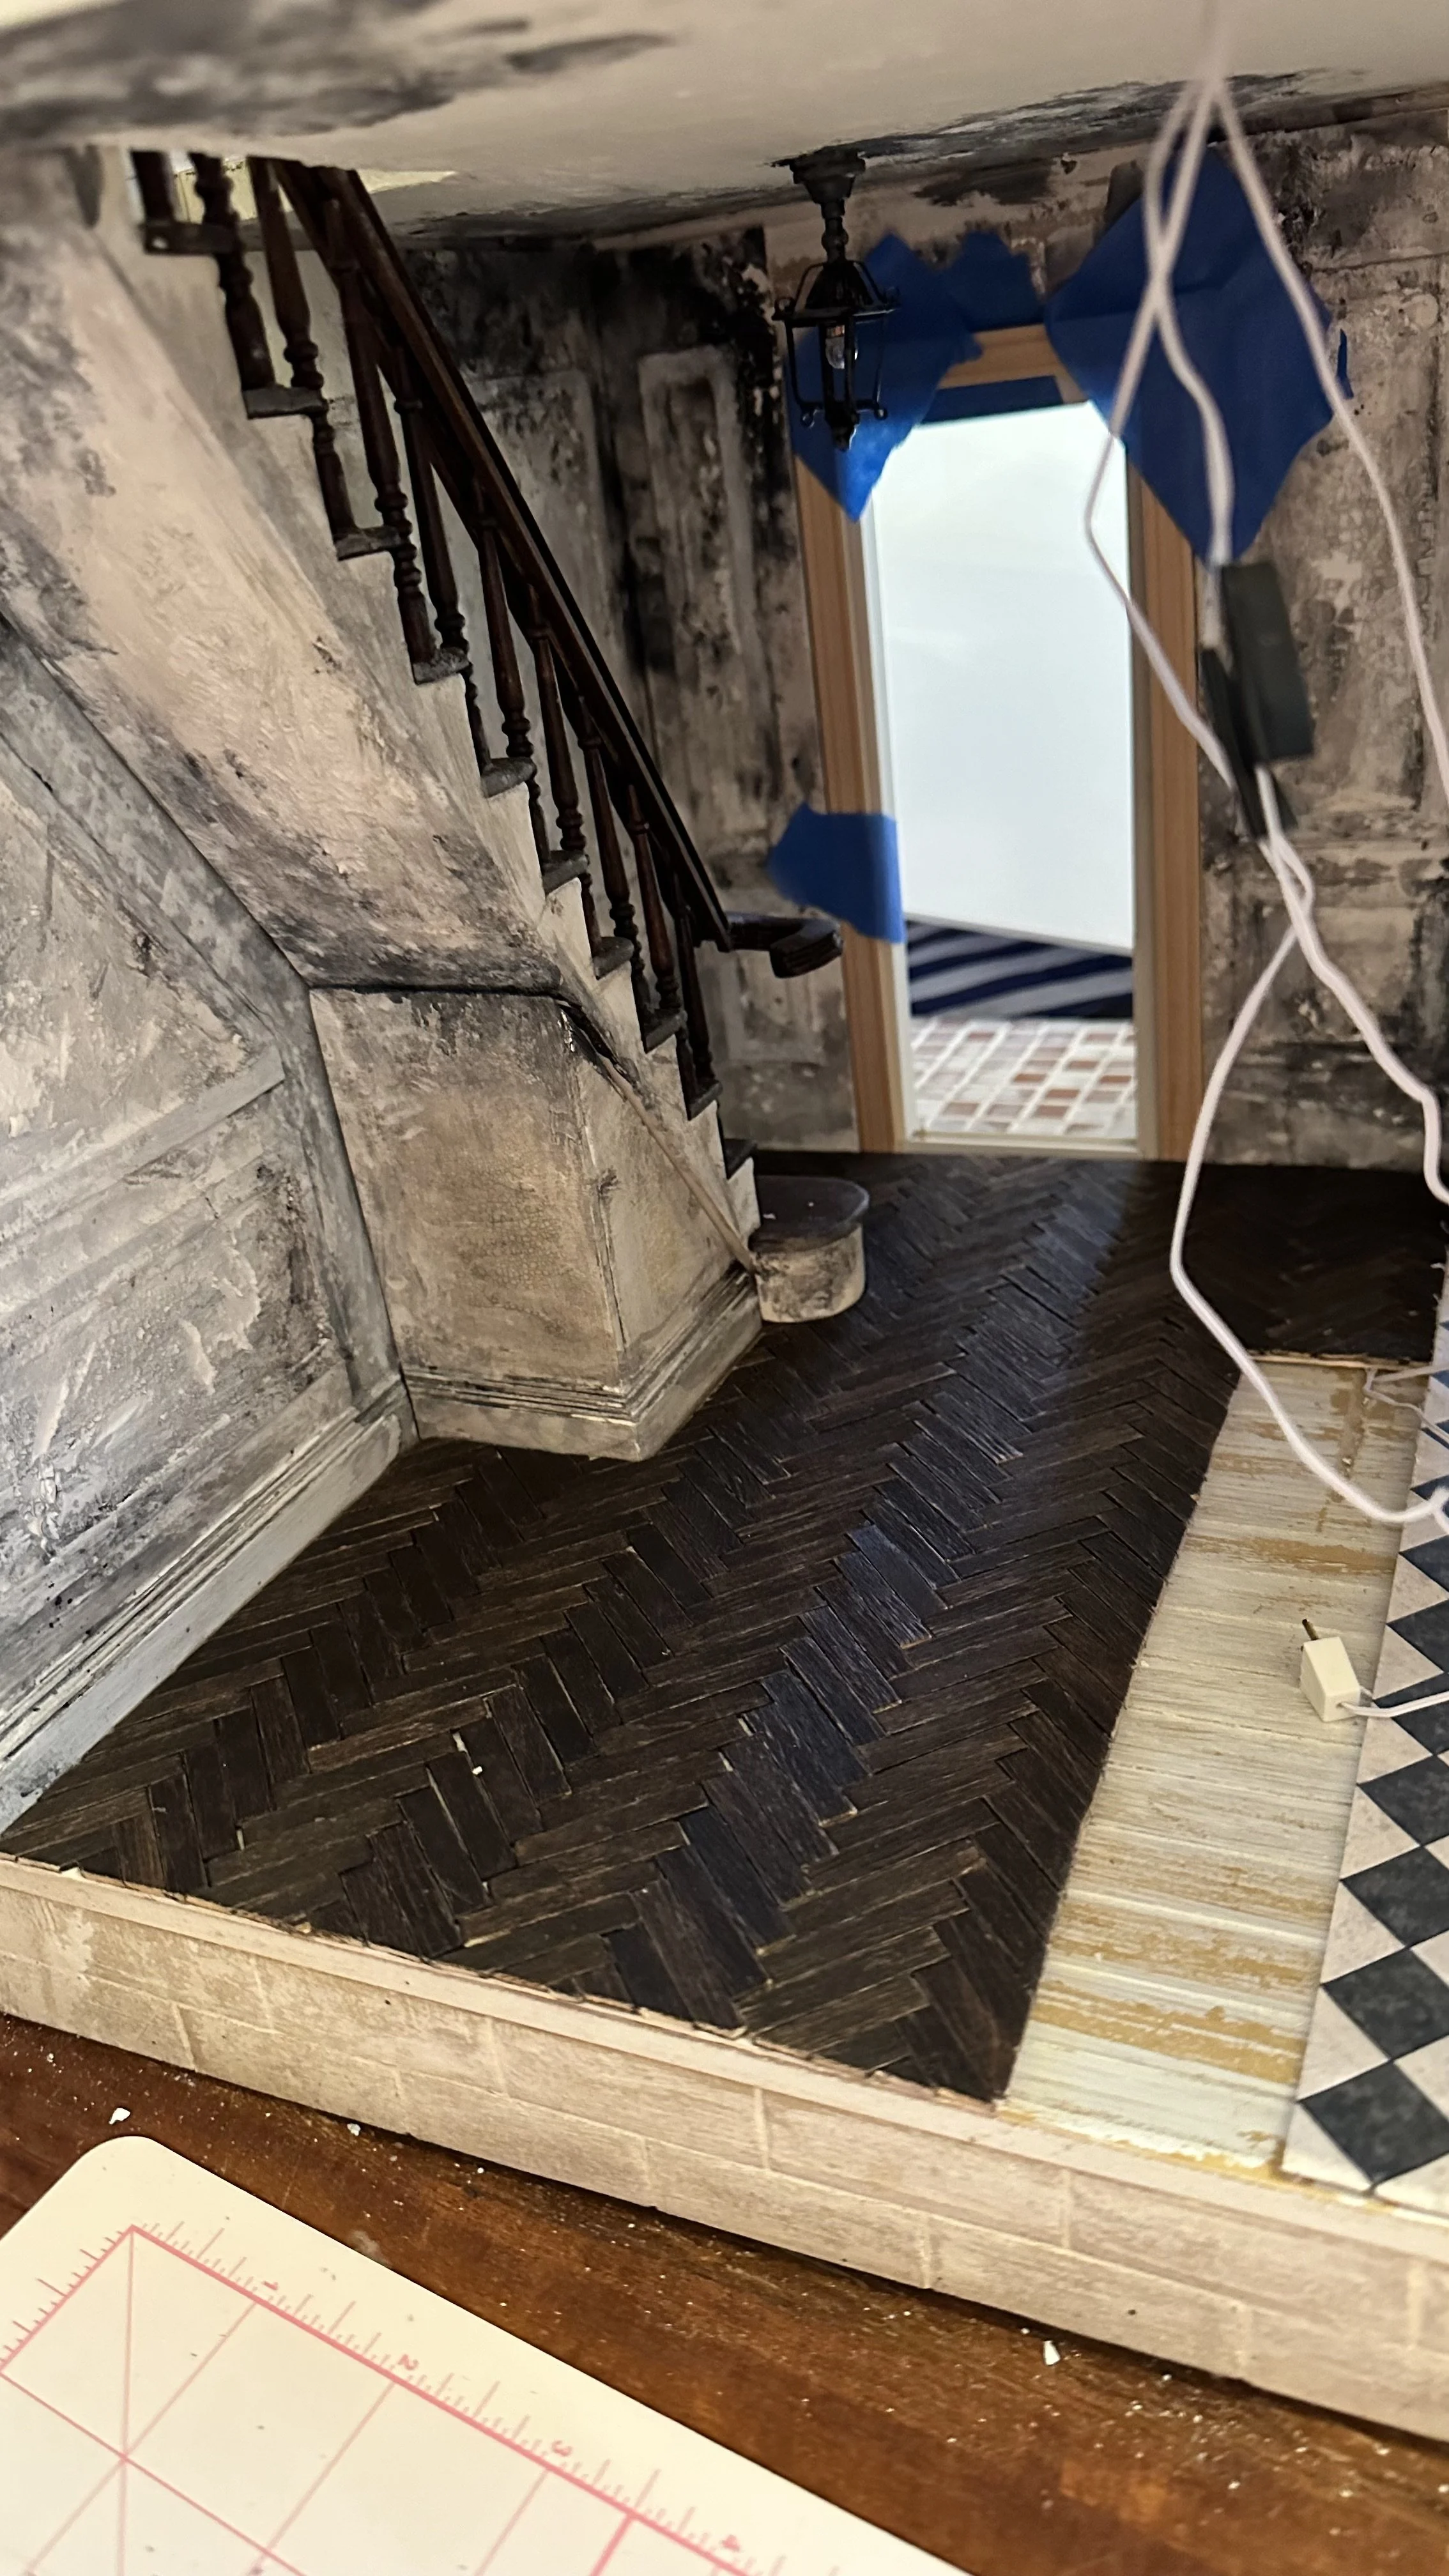
Fitting in place

Another view, with wolf fireplace installed

The abandoned room, after some additional distressing to the floor in the form of water damage and dust.

Another view
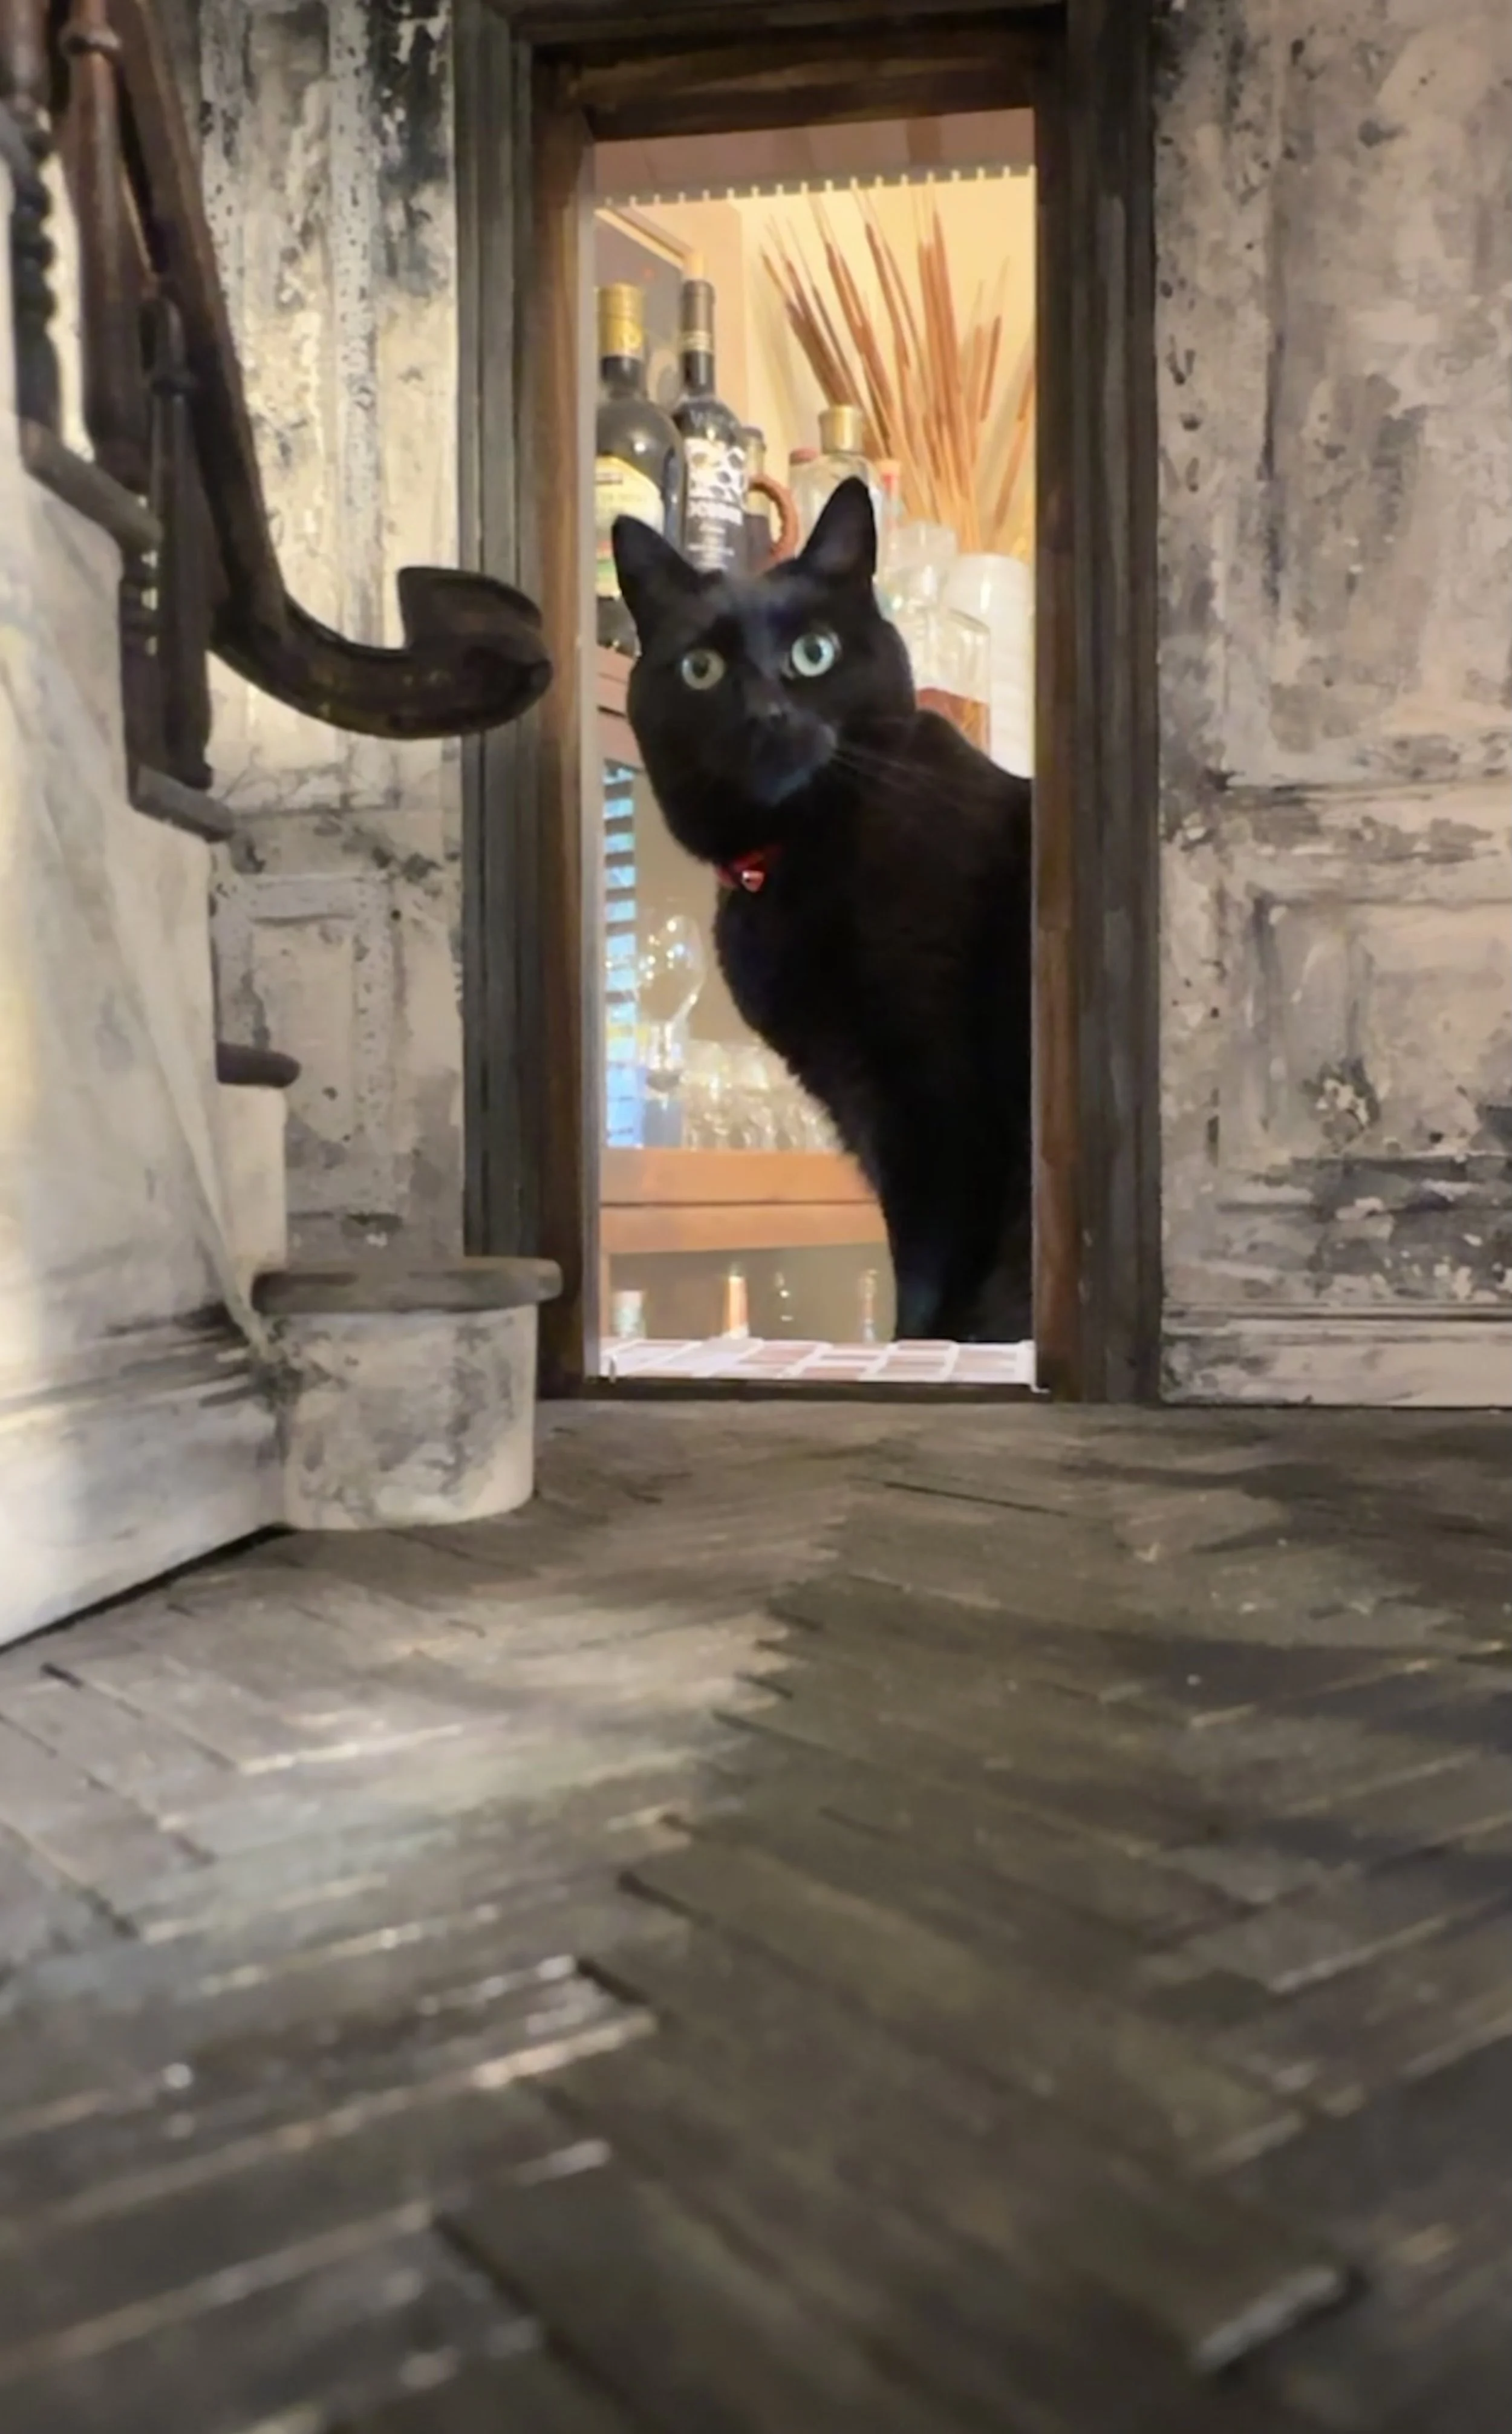
Approved by Inspector Meowcifer.